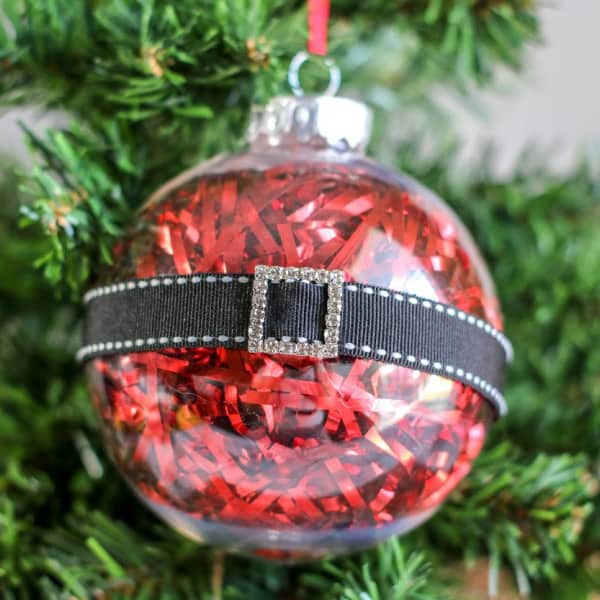
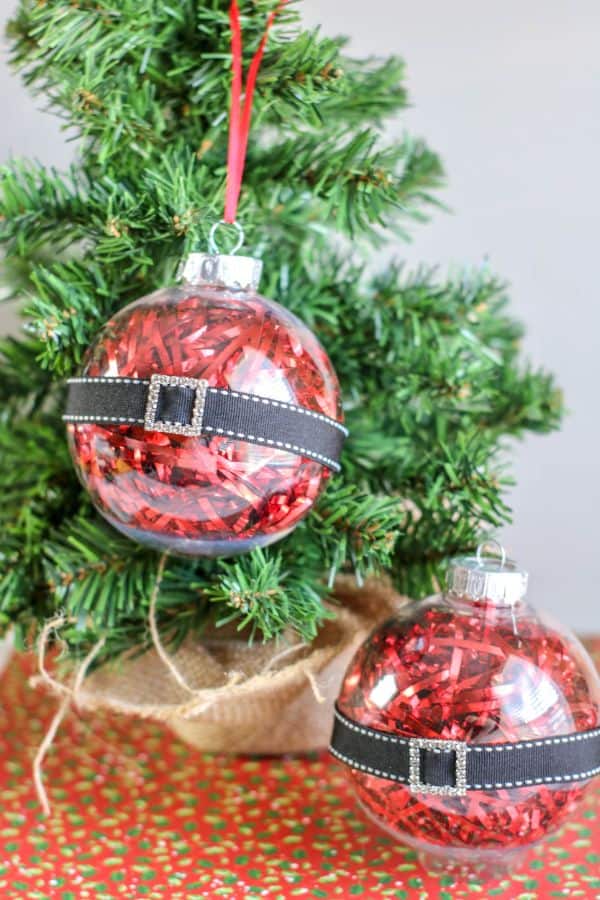
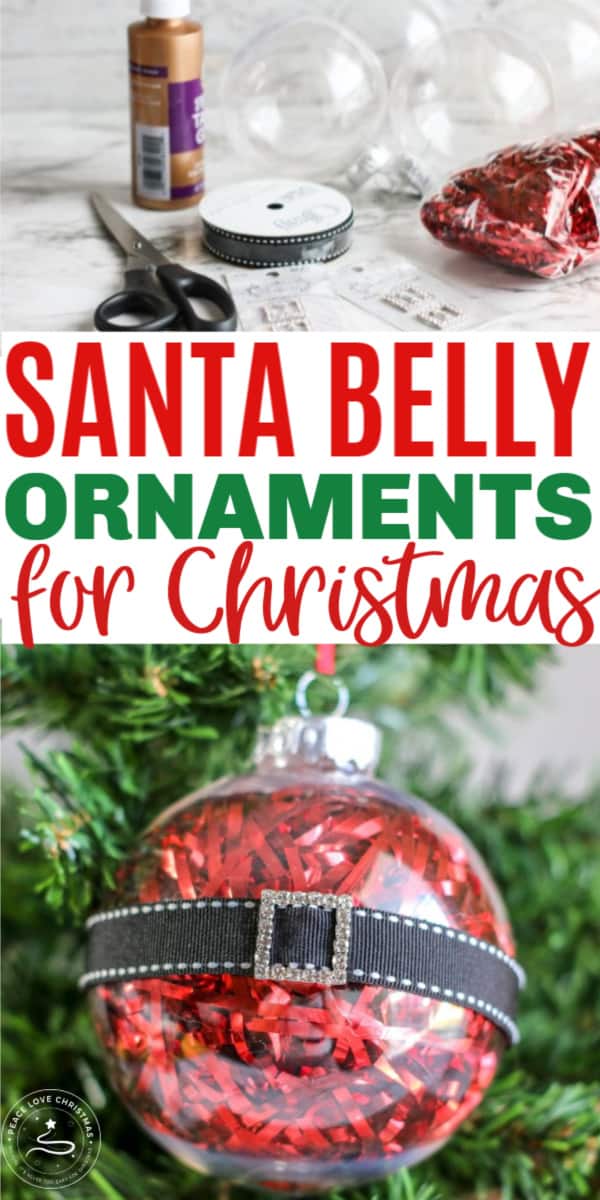
Easy DIY Santa Belly Ornaments are the perfect quick Christmas craft. Made with clear ornaments, the finished ornament looks just like Santa’s jolly belly.
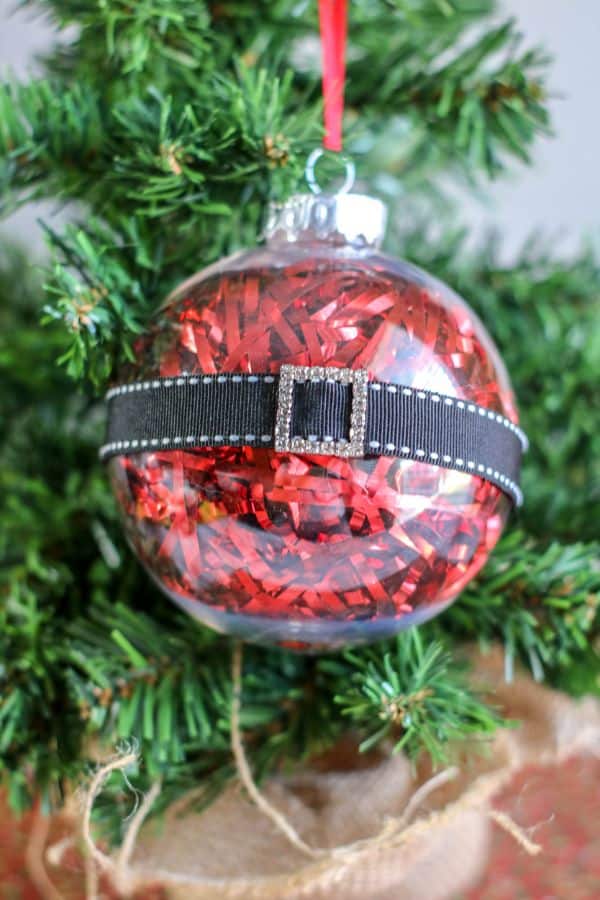
WHAT KIND OF ORNAMENTS DO I USE?
This ornament uses an empty clear round ornament. These have gotten very easy to find during the holiday season.
You can use a plastic ornament or a glass ornament. Personally I prefer plastic because if it gets dropped it won’t break!
My first stop for getting these ornaments is Dollar Tree. They usually carry them during the holidays and they are the cheapest!
If you don’t find them at Dollar Tree then you should be able to order them online or buy them in any craft store.
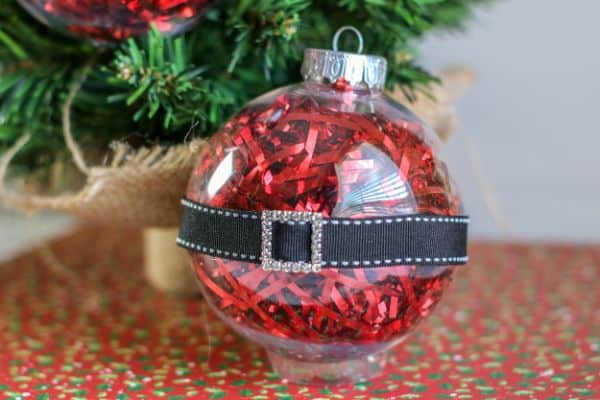
WHICH RIBBON WORKS BEST FOR THIS ORNAMENT?
Santa usually wears a black belt and so the black ribbon is the best choice.
I love using a simple grosgrain ribbon with the little white stitching along the sides. I looks so much like a belt!
You can use 1/2 inch or 5/8 inch ribbon. One inch might be a little too thick for this project.
If you can’t find the ribbon with the white stitching…no worries. Plain black will look great too.
SUPPLIES FOR SANTA BELLY ORNAMENTS
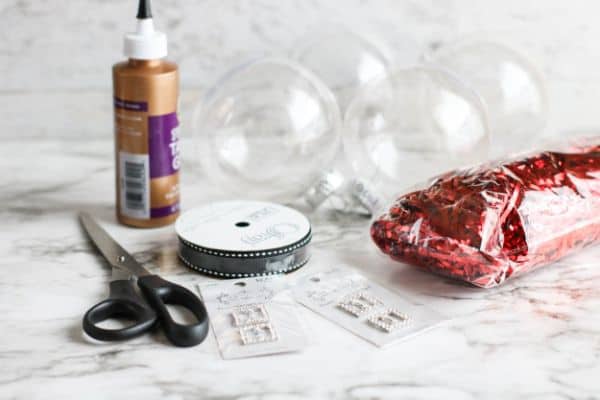
One thing I love about this easy craft project is that it only has a few supplies. Nothing better than an inexpensive yet adorable craft project.
The number of supplies you need will depend on how many Santa belly ornaments you are making.
- Clear Ball Ornaments (can be plastic or glass)
- Red Foil Shreds
- Hot Glue Gun (or tacky glue)
- Hot Glue Sticks
- Black Ribbon
- Rhinestone Slide Buckles
HOW TO MAKE A SANTA BELLY ORNAMENT
If you love easy Christmas crafts you will love this easy ornament tutorial. You can make a bunch of these sweet Santa ornaments in no time.
STEP ONE: ADD FOIL
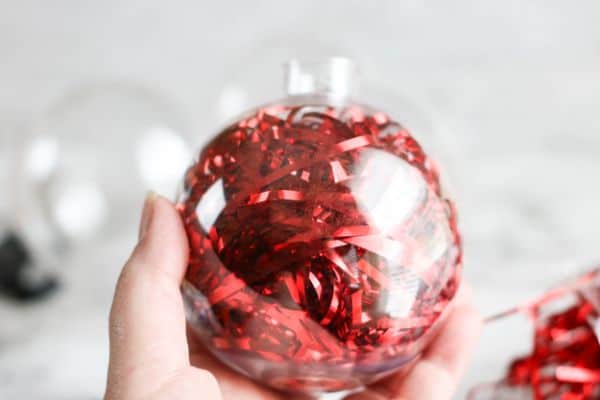
The first step is to fill the clear ornament with red foil shreds. This will resemble Santa’s red coat and his belly.
Take the cap off the ornament and press the foil shreds into the hole until the ornament is nice and full of pretty red foil.
Put the cap back on the ornament.
If children are helping make these ornaments I would suggest using plastic ornaments.
STEP TWO: CUT RIBBON
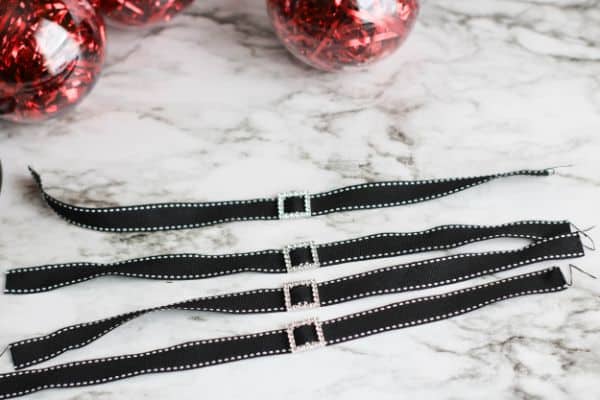
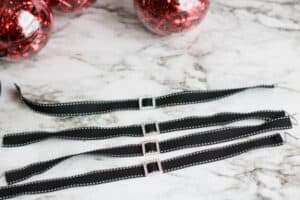
Now we want to cut our black ribbon to fit around the middle of the ornament. This will be Santa’s belt.
Measure the ribbon so it fits around the middle of the ornament with a little bit of room to overlap. Cut the ribbon.
STEP THREE: ADD BELT
Now thread the rhinestone slide buckle onto the ribbon.
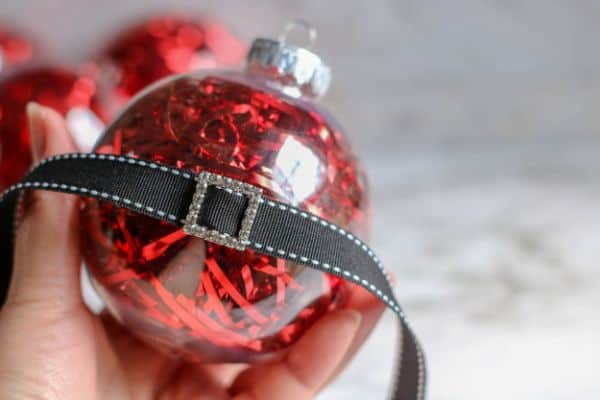
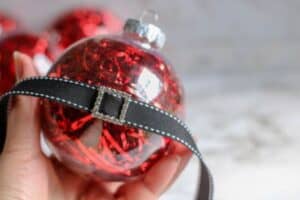
Add some hot glue around the center of the ornament and glue the ribbon and buckle into place for Santa’s belt.
Add a hanger to the top of the ornament and you can hang it on the tree or give it as a gift.
EASY DIY SANTA BELLY ORNAMENTS
You can print off the instructions for this fun DIY project via the instruction card below.
Easy DIY Santa Belly Ornaments for Christmas
Equipment
- Hot Glue Gun
- Hot Glue Sticks
- Scissors
Materials
- 1 Clear Round Ornaments plastic or glass
- Black Ribbon
- 1 Rhinestone Slider Buckle
Instructions
- Remove the cap from each ornament. Press foil shreds through the hole until filled. Replace the cap.

- Measure the ribbon around the jar, allowing room to overlap slightly. Cut the ribbon to fit.
- Add the buckle to the ribbon and then glue the buckle and the ribbon to the middle of the ornament.
Notes
Be sure to PIN this for later and SHARE on Facebook!


Leave a Reply