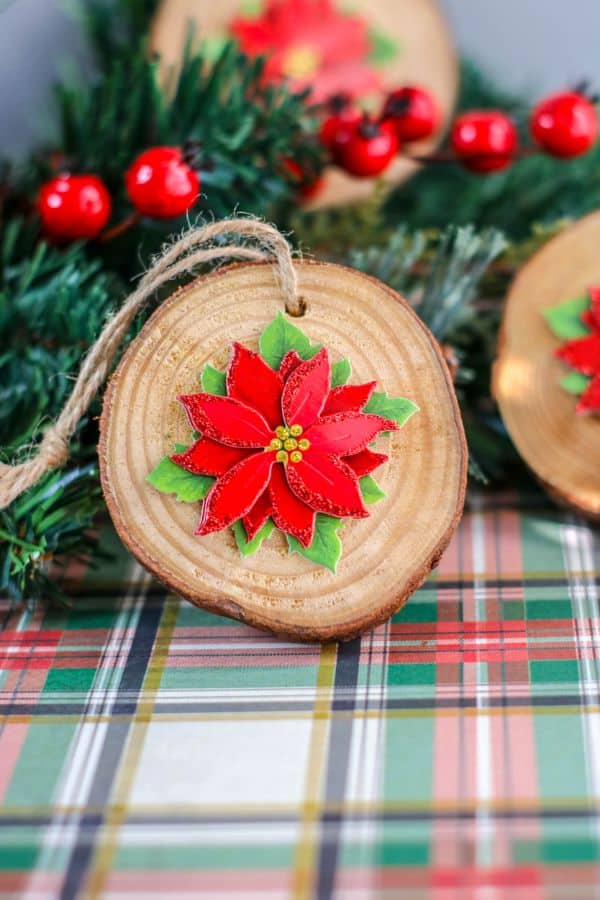
You can make these DIY Wood Slice Ornaments so quickly and they will look lovely on your Christmas tree. These wood ornaments are also wonderful and easy gifts for friends and coworkers.
WHAT KIND OF WOOD DO I USE FOR WOOD SLICE ORNAMENTS?
There are two basic ways to get the wood slices for these easy ornaments.
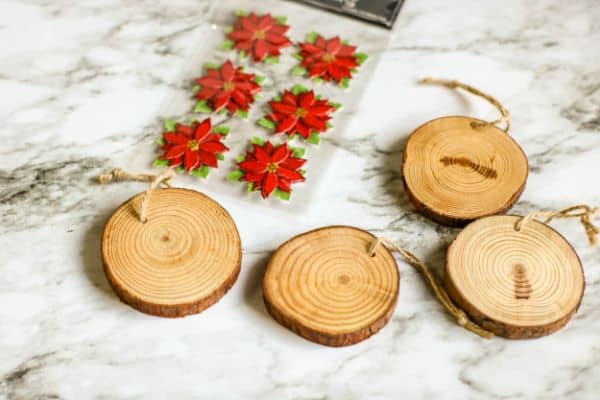
The first way is SIMPLE and inexpensive. Yes..this is the way I do it, LOL. You just buy the wood slices at the craft store or online.
You can purchase packs of real wood pieces that are cut for you. The wood is unfinished and ready for crafting. The natural wood slices I get are also predrilled with a small hole so you can easily hang these up as ornaments. You can get a big pack of these for way less than $20. They come in different sizes depending on what you want.
The second option is to cut the wood slices yourself from an actual tree brand. This would involve a chain saw so please only try this if you are proficient at using a tool like a chainsaw.
The key is to get slices that have the bark along the edge because it looks so good and rustic.
DO I NEED TO STAIN THE WOOD?
If you are wondering if you need to stain the wood the answer is no you don’t.
Now if you prefer the look of stained wood feel free to add this step on and stain away with whatever color of stain you prefer.
It isn’t necessary because the ornaments will be hanging inside and shouldn’t be exposed to the weather.
SUPPLIES FOR DIY WOOD SLICE ORNAMENTS
These DIY Wood Slice Ornaments are so easy to make and only require 3 items to complete.
- Wood Slice Circles (predrilled with hangers, if possible)
- 3D Stickers (Christmas-themed)
- Hot Glue Gun and Glue Sticks

WHAT STICKERS SHOULD I USE FOR MY WOOD ORNAMENTS?
When you are looking for the right stickers for this Christmas craft project try to focus on the size and colors.
Craft stores have so many amazing sticker choices in the papercraft section. I like to use a 3D sticker because it just looks so much better for this particular DIY project.
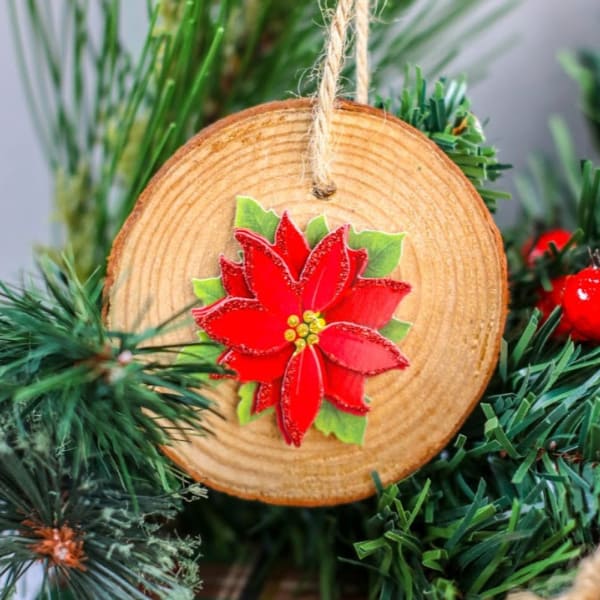
I chose poinsettia stickers for these wood slice ornaments because they have such a pretty traditional Christmas look.
Here are some other great sticker ideas:
- Ugly Sweater 3D Stickers
- Nativity 3D Stickers
- Merry and Bright 3D Stickers
HOW TO MAKE DIY WOOD SLICE ORNAMENTS FOR CHRISTMAS
I love how simple it is to customize these ornaments based on your tree decor or based on the person who will be receiving the ornament.
STEP ONE: ATTACH STICKER
If you are cutting your own wood slices you will need to do that first and then drill a small hole in the top so you can add a hanger to the ornament.
Assuming you have purchased the wood slices we will go ahead and attach the sticker to the wood.
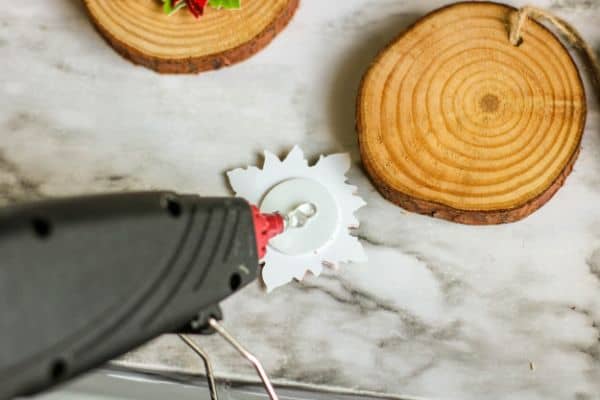
Make sure the hot glue gun is warm and ready to go.
Take the sticker you have chosen off the sticker sheet and remove the cover from the sticker’s adhesive backing.
Place a dot of hot glue in the middle of the stickers back and attach it to the center of the wood slice.
STEP TWO: ATTACH HANGER
Most of the wood slice circles come with hangers.
If they didn’t come with hangers you can use thread, thin jute, ribbon, etc. Whatever you can put through the hole in the wood so you can hang the ornament on the tree.
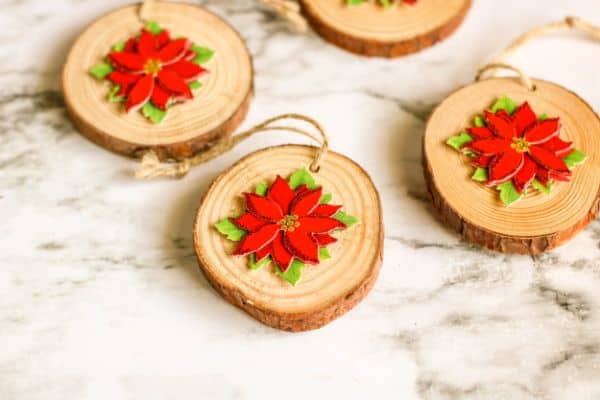
DIY Wood Slice Ornaments
Equipment
- Hot Glue Gun
- Glue Sticks
Materials
- 1 Wood slice circles with hangers
- 3D Christmas stickers
Instructions
- Plug in the hot glue gun and let it warm up.
- Remove the cover from the sticker’s adhesive backing and place a dot of hot glue in the middle of the sticker’s backing.
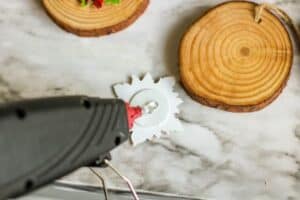
- Attach the sticker to the center of each wood circle.

- Add the included hanger to the ornament and hang up on the tree.
Be sure to PIN this for later and SHARE on social media!


Leave a Reply