Learn how to make a snowman that impresses the neighbors! If you’re ready to build a snowman that totally rocks, follow these simple tips!
HOW TO BUILD A SNOWMAN THAT IMPRESSES THE NEIGHBORS
Once that snow falls, it’s time to make your game plan on how you’re going to create a snowman to impress. There are so many things to think about when it comes to building a snowman and this post will help break down all those crucial steps and tips!
HOW TO MAKE A SNOWMAN
While these are just suggestions, they work! Get ready to impress anyone and everyone who drives past your yard with these awesome snowman-building ideas.
Make sure the snow is “snowman quality”
Not all snow is created equal. And even though we want every snowfall to be that “perfect snowman snow”, the truth is that it just isn’t.
For good quality snow to be ready for snowman-building, it needs to be wet and heavy. This will make it super simple to roll and stick together easily.
If you get really dry powdery snow…go sledding instead of building a snowman, LOL.
Create three parts to the snowman
Once the snow has fallen, it’s time to get busy. Once you know how to make a snowman you can do it over and over again every winter.
The bottom of the snowman should be the largest in size, followed by the middle section being smaller, and the top section for the head is the smallest.
Keep in mind that you need to be able to lift up the middle section to put on top of the bottom one, so don’t make it too heavy! (and yes, snow is MUCH heavier than it looks!)
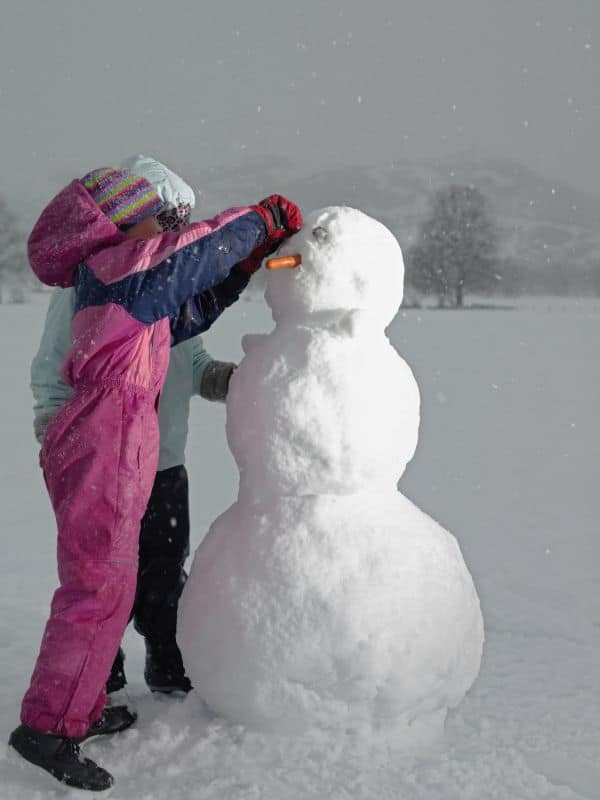
Putting the three parts together is usually at least a 2 person job. It is even more fun to get the whole family involved.
Find the perfect arms
The arms for your snowman should be proportionate to the rest of the body, so finding sticks and twigs are perfect. If they’re too long, break them down and try and make them the same size.
Look around your yard or go to a local park that has a lot of trees to find the perfect stick arms.
Add the snowman’s face
Grab carrots, buttons, lumps of coal, cool stones, or anything else that stands out and makes an awesome snowman face.
I wouldn’t advise using anything that you aren’t okay losing for your snowman. You can also buy a snowman kit that comes with all the essentials.
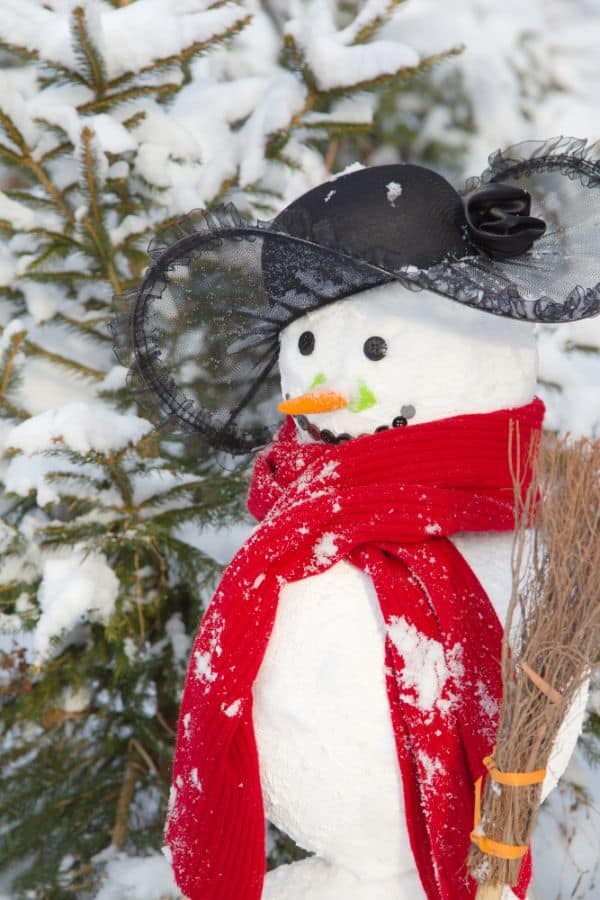
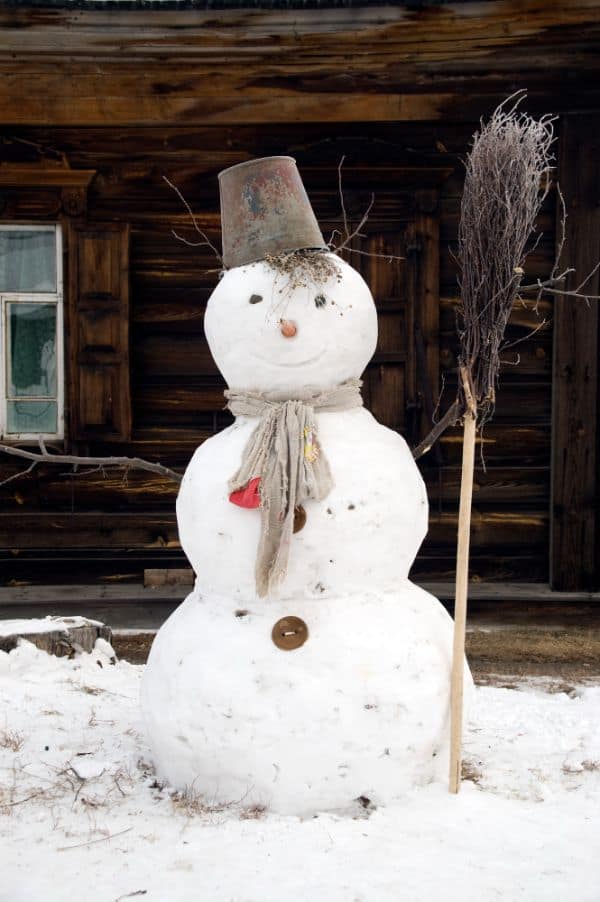
Spruce them up!
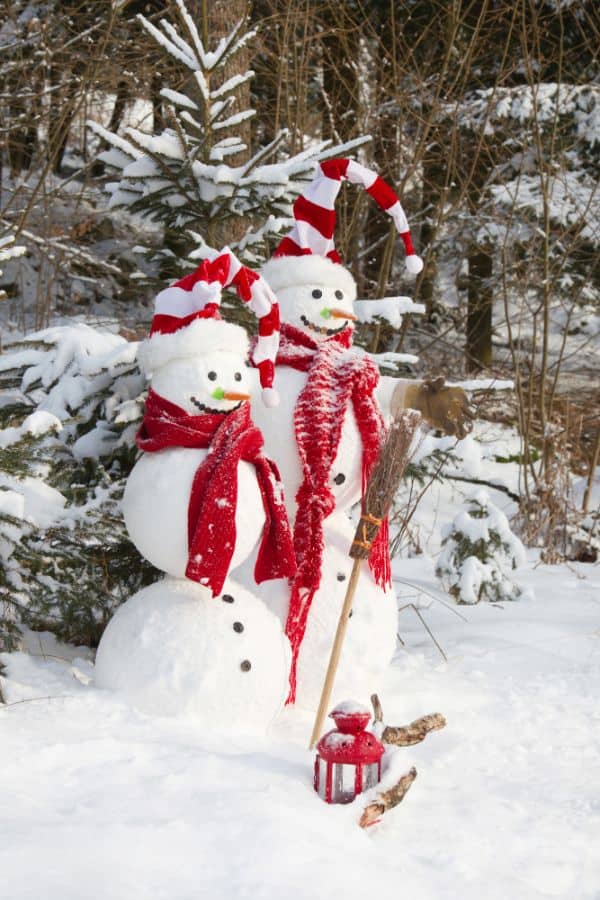
What really takes the snowman over the top is adding some unique features! Think top hats, scarfs, gloves, shirts, or anything else unusual.
You can even have the kids try and add some paint or fun colors to the snow with spray bottles of paint or some food coloring!
Here are some ideas for unusual items that you may have laying around your garage or shed:
- Broom
- Pail for a hat
- Wig
- Cowboy hat
- Sunglasses
- Hula skirt
- Halloween masks
- Umbrella
- Greenery for hair
HOW TO MAKE A SNOWMAN THAT IS UNIQUE
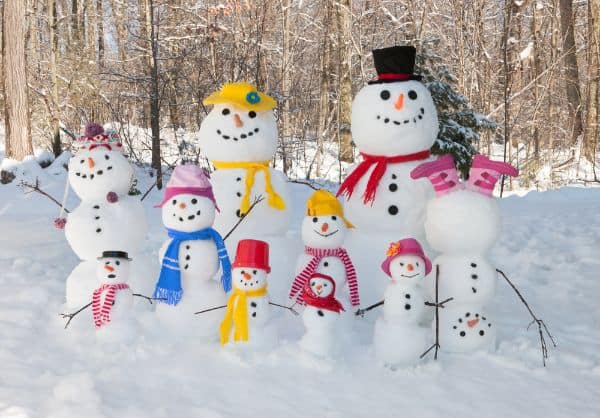
Now that you know the basics on how to build a great snowman, let’s get REALLY CREATIVE! Here are some ideas on how to make a snowman that will impress the neighbors…and may be something they have never seen before!
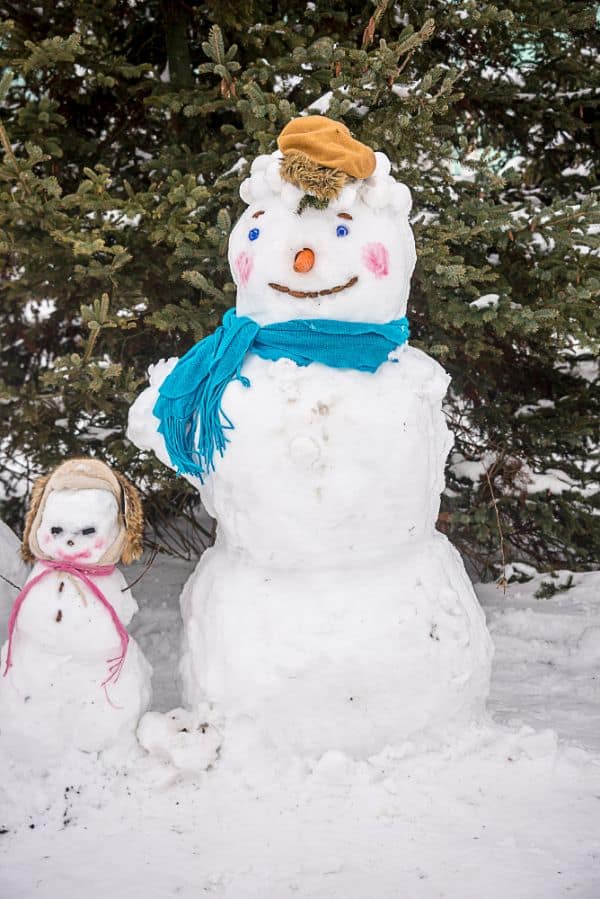
- Create a whole family of snowmen standing next to each other. Dress them or add accessories to show who each snow person represents.
- Make your snowman UPSIDE DOWN. It will look like the snowman is doing a handstand.
- Create a snowman that is laying down and make it look like the snowman made a snow angel.
- Build the snowman right next to a window so it is “looking inside” the window into your house.
- Give your snowman a mohawk for hair instead of a hat.
- Hollow out the mouth area of the snowman and make teeth with snow.
- Build the snowman at the bottom of slipper slide so it looks like he just slid down the slide.
- Put some battery powdered lights inside a zippered baggie and put them inside the snowman so he lights up from the inside.
If you loved this simple snowman tips, be sure to check out these other great ideas and activities:
- Christmas in July Ideas for Your Family
- 100+ Christmas Traditions to Consider Starting
- Printable Christmas Activity Sheets for Kids
- How to Make a Snowman Without Snow
Be sure to PIN this for LATER and SHARE on FACEBOOK!


Leave a Reply