Learning how to make a gluten-free gingerbread house is easier than you think. Gingerbread houses are a Christmas tradition and people with gluten-sensitivity can enjoy this fun project too! Nothing is better than a home that smells like fresh gingerbread.

WHY BUILD A GINGERBREAD HOUSE?
Building a gingerbread house is a Christmas tradition in many households. It is a very old tradition that originated in Germany in the 16th century.
These elaborate little edible homes became a lot more popular after the Brothers Grimm wrote the story of Hansel and Gretal. English colonists brought gingerbread to America and the rest is history so to speak.
There is little reasoning behind why gingerbread houses became a Christmas holiday tradition, but they did and it is a common family activity across our nation.
I believe the main reason for building a gingerbread house is to spend time together as a family unplugged. It is a fun creative activity that will typically lead to a lot of laughs and a lot of finger-licking fun.
HOW TO KEEP A GINGERBREAD HOUSE FROM FALLING APART
When you are first learning how to make a gingerbread house you may have trouble with your house collapsing. It is something that takes a lot of trial and error.
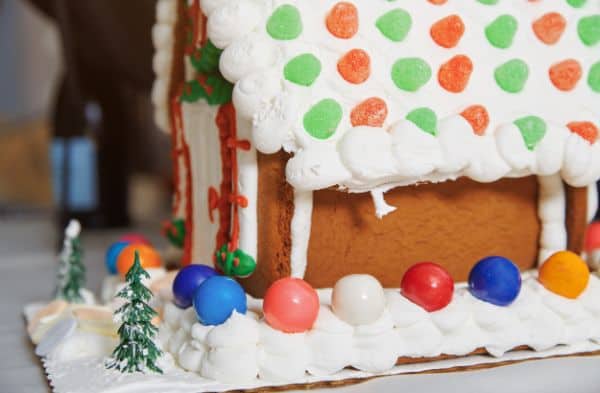
The best way to keep a gingerbread house from falling apart is to use a LOT of icing. Icing becomes the cement that keeps the house together.
Kids love this part of the gingerbread house building project…the more icing the better!
HOW DO I HARDEN GINGERBREAD
Personally, I love soft cookies. I will rarely waste calories eating a hard cookie.
Nevertheless, when you are building a regular or gluten-free gingerbread house it is imperative that the gingerbread pieces be hard. The house will not stand with soft gingerbread cookies for sidewalls and roofs.
The key to getting your gingerbread pieces hard is to make sure to cook them long enough. You want the edges to start to turn dark brown.
Then you need to let the pieces cool completely. The cooling process will harden the pieces so you can work with them successfully.
This means that it is totally fine to bake the gingerbread pieces the day or two before you will actually put the houses together.
HOW DO I CUT THE PARTS FOR THE HOUSE?
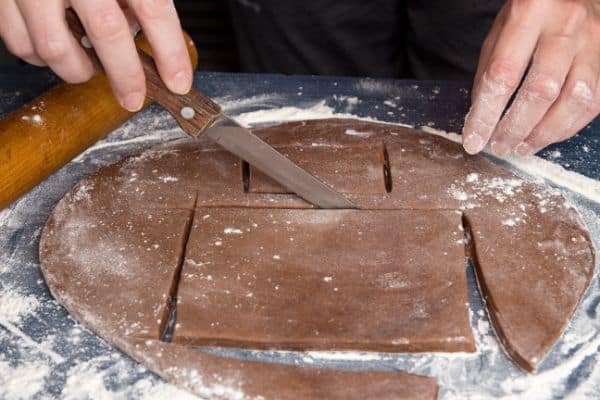
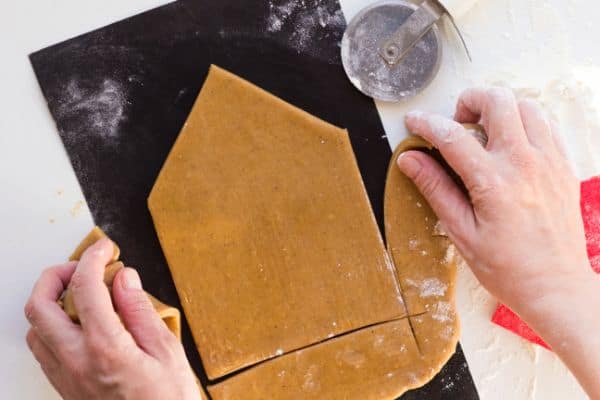
There are two main shapes required to make a simple gingerbread house. You need rectangle shapes for the 2 sidewalls and the roof and then 2 gable type shapes for the front and back of the house.
These can be cut by hand or using special cookie-cutters, which is much easier! Straight lines help keep the walls together.
The kits are inexpensive and can be used year after year. Many of the cookie-cutter kits include extra fun cutters for doors, windows, chimneys and more! Some of the kits also have designs that bake into the shapes which is fun.
I find it is easier to cut the shapes out of the dough before baking, but other people will cut the gingerbread into shapes after it has baked. It is really a personal preference.
SHOULD I EAT MY GINGERBREAD HOUSE?
I will be honest here and say that I am not a big fan of eating a gingerbread house.
The first reason is that in my house lots of little hands have touched the house and it is probably not a clean food to eat after we finally get it put together!
Second reason is that we will sit the house out for a few weeks on display and although it doesn’t “go bad” like some foods…I just don’t think it would taste good and would be hard enough to probably cause a broken tooth LOL.
If you do want to eat it I would do it within 1-2 weeks after making it. It you eat it with some tea to dunk it in then it might go down better.
WHAT DO I BUILD MY GINGERBREAD HOUSE ON?
When you are ready to build your gluten-free gingerbread house it is important to build it on the right surface because these houses won’t be easy to move later on.
I like to get a nice strong piece of cardboard and cover it with foil and build the house on that. This allows me to move it around the house to different places if desired.
Stores that carry cake making supplies (even Walmart) will have cake rounds that also work great and are very inexpensive.
Another fun way to display the house is to put it on an elevated cake stand! 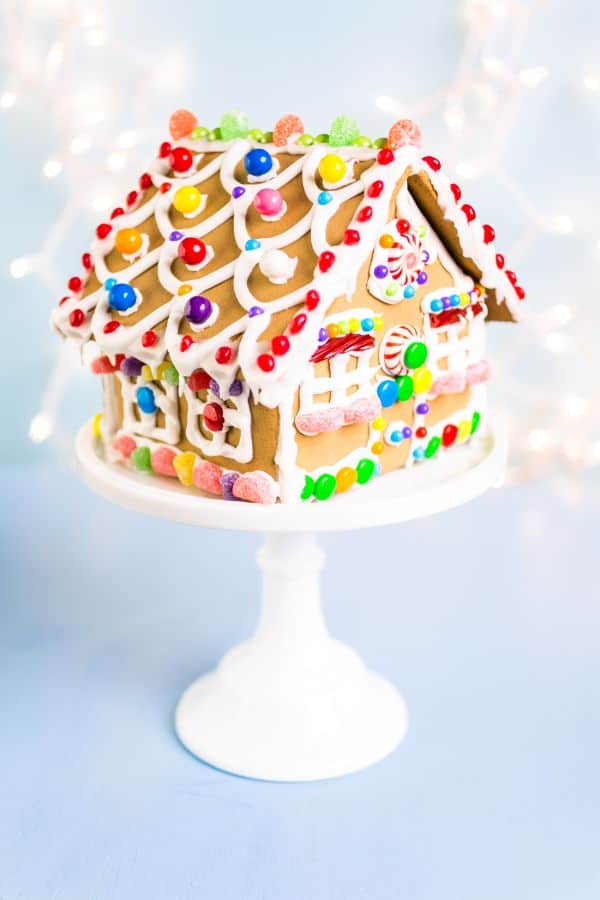
HOW DO I DECORATE MY GLUTEN-FREE GINGERBREAD HOUSE
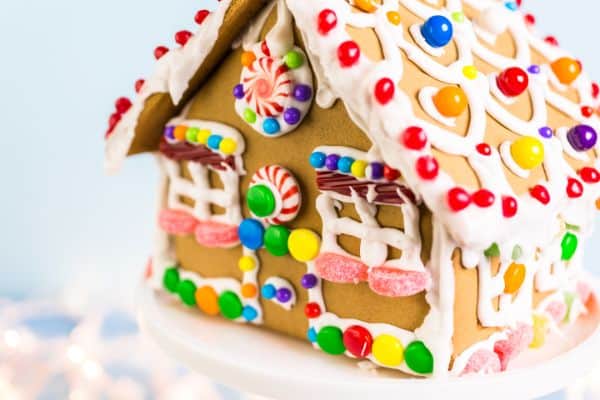
If you are making a gluten-free gingerbread house you will want to make sure to decorate the house too.
After you get the house assembled it is time to add the bling.
You can add all sorts of fun edible items to decorate the house. Wilton has the cutest door and window gingerbread house decorating candy.
Sprinkles are always a good touch. Lots of people like to use gumdrops and jelly beans too.
GLUTEN-FREE GINGERBREAD HOUSE RECIPE
You can print off the ingredients and instructions for making an easy and tasty gluten-free gingerbread house via the recipe card below.
Gluten-Free Gingerbread House
Ingredients
Gingerbread Ingredients
- 2 1/4 cups rice flour
- 3/4 cups potato flour
- 6 tbsp corn starch
- 1/2 tsp baking soda
- 1 tbsp ginger
- 1 tsp xanthan gum
- 1 egg
- 1 tsp nutmeg
- 1 1/2 tsp cinnamon
- 6 tbsp brown sugar
- 9 tbsp butter or shortening
- 6 tbsp corn syrup
- 1 tbsp molasses
Icing Ingredients
- 3 cups icing sugar confectioner’s sugar
- 1/3 cup soft butter
- 2 tsp lemon juice
- 2 egg whites
Instructions
Directions for Making Gingerbread
- Preheat oven to 350°
- In a large bowl, sift together all the dry ingredients except for the brown sugar.
- In a small saucepan, heat the butter, brown sugar, corn syrup, and molasses until it is melted. For lactose intolerance or dairy allergies, shortening can be substituted equally for the butter.
- Add the melted mixture to the dry ingredients and blend together until the dough forms. Add the egg if the dough is dry and crumbles. It will most likely be needed. It may work best to work the dough by hand.
- The spices added to the dough need not be carefully measured, but bear in mind that ginger should be the dominant flavor.
- On a well-floured surface, roll the dough to approximately 1/4 inch thickness. It works best to roll the dough a little at a time.
- Roll the dough out into two separate rectangular shapes. Cut the rough edges to create the rectangles. Place the rectangles onto a large cookie pan or two separate cookie pans and bake for 7 or 8 minutes.
- The leftover dough from the edges can be rolled out again and cut into shapes with cookie cutters, or shaped by hand. These shapes can also be baked for 7 or 8
Gingerbread Icing Directions
- Beat the egg whites and lemon juice together. Add the butter and sugar and mix until soft icing forms.
- The sugar measurement for icing can depend on the desired softness of the icing. Add more for more textured icing, and less for softer icing.
Directions for Cutting Gingerbread and Constructing House
- Allow the gingerbread to cool 5 to 10 minutes after removing it from the oven.
- Cut one rectangle width-wise into three even parts. Use one of the parts to measure a similar cut from the second rectangle, so that there are four parts the same shape and size. Two parts are for the sides of the house, and two for the roof.
- From the rest of the second rectangle will be the gables. Measure the height of the side pieces against what is left of the second rectangle and make a mark to know where to start the point of the gable. Measure the widths of the roof pieces from that mark to know how tall to make a point of the gable. Once one gable is cut out, it can be used to measure the second.
- Choose a flat dish or pan on which to build the house. Layer enough icing on the pan to help the house stand. Stand aside piece adjacent to a gable and fill the corner between them with icing, on the inside and out. Stand the other side and gable to complete the rectangle and fill the rest of the corners with icing.
- Spread icing on the top of the sides and gables and allow it to harden a little before placing the roof pieces. Once the roof pieces are placed on top, spread icing on the seam between them. The icing in the cracks and corners should keep the house together while decorating.
- Decorate with what is left of the icing, candy, sprinkles, chocolate, and goodies to taste. The extra gingerbread shapes can also be used to decorate the house.
- Decorated Baby Jesus Cupcakes for Christmas
- Easy Rolo Pretzel Rudolph Noses
- Adorable Grinch Cookies
- Easy Christmas Holly Cupcakes
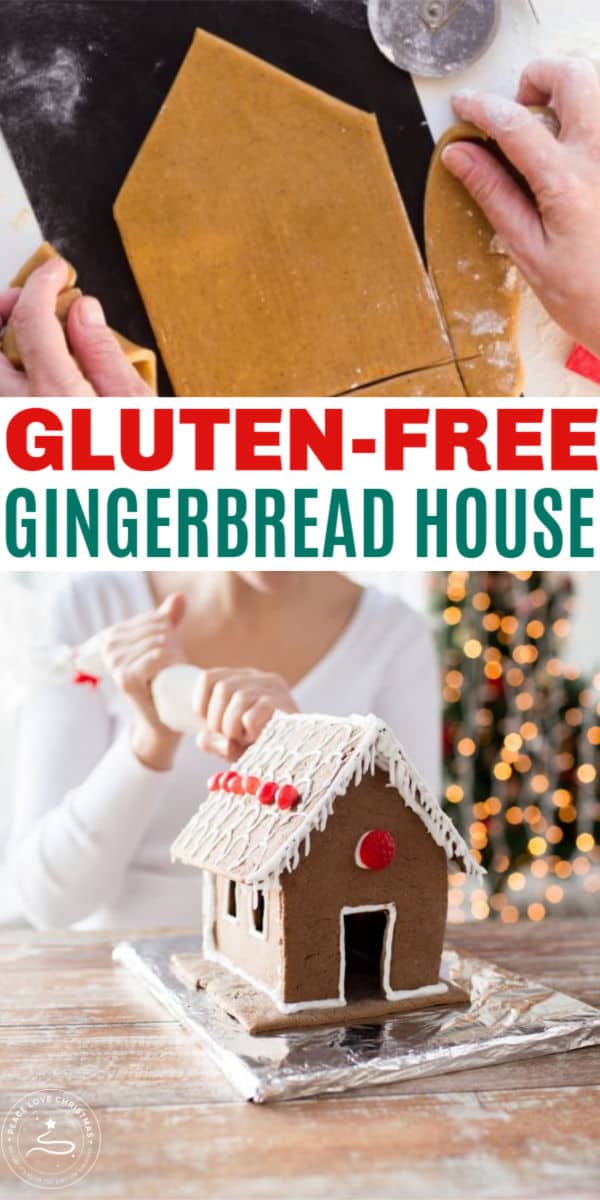
Be sure to PIN this for later!

Leave a Reply