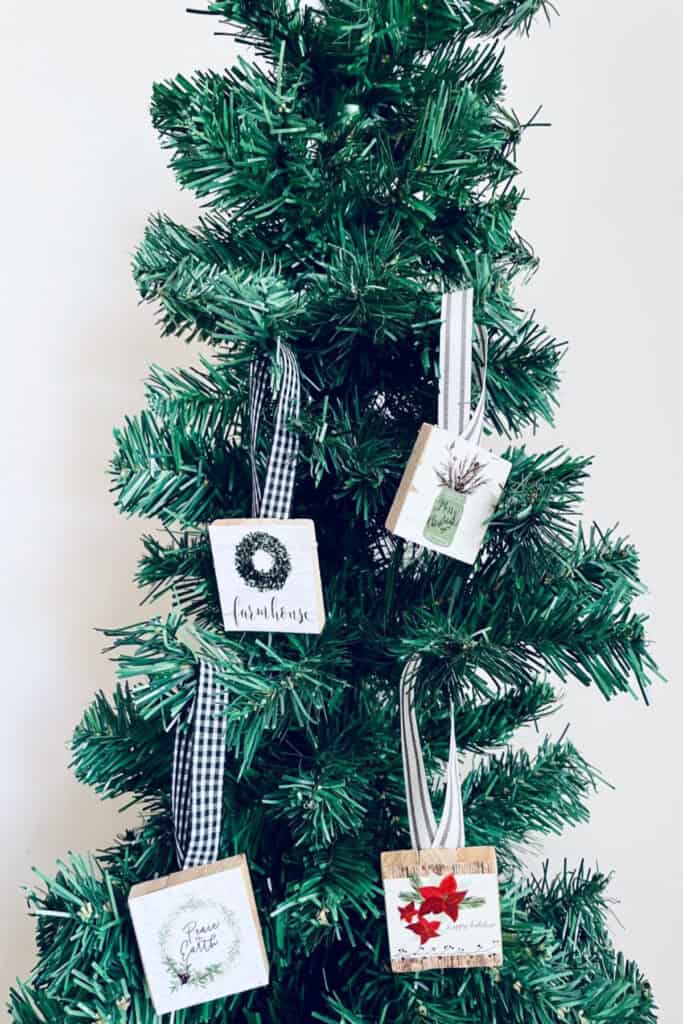
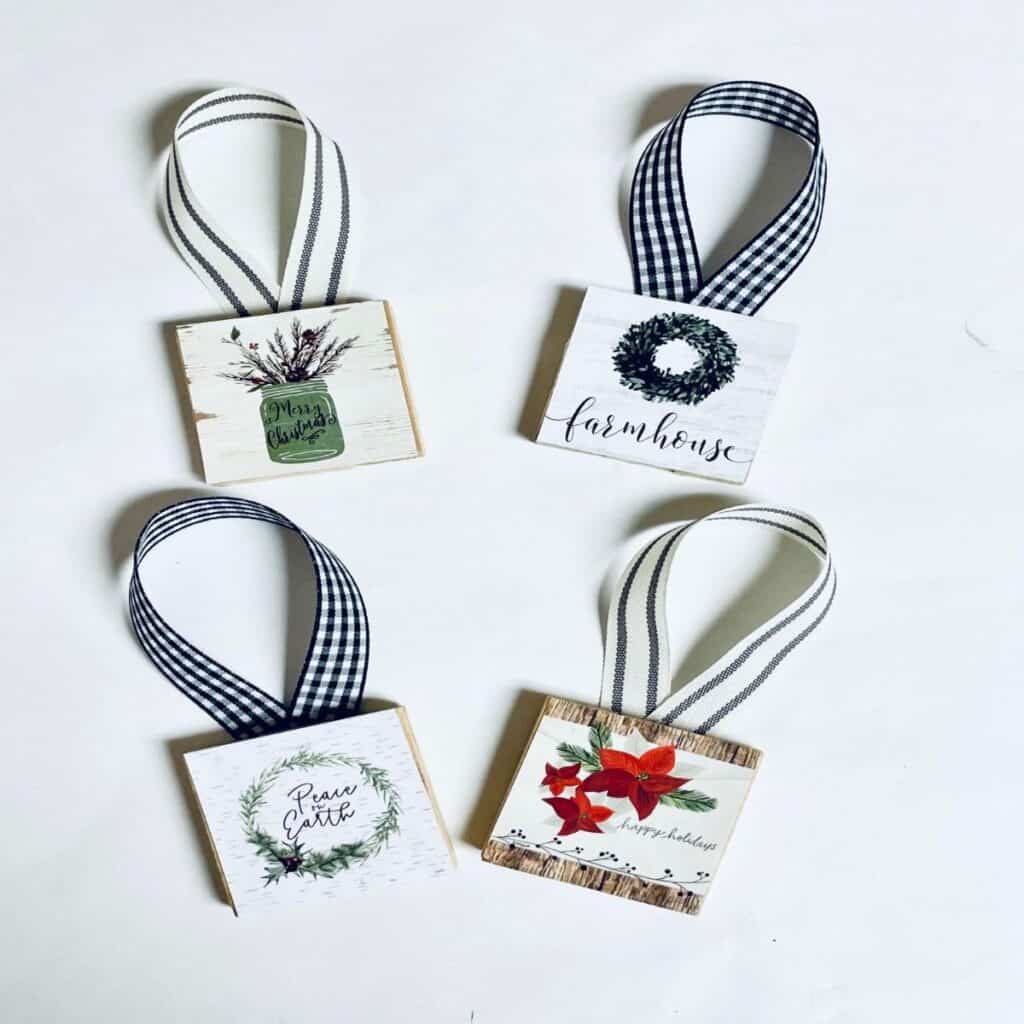
These Dollar Tree Jenga ornaments are easy to make! This will definitely be a great ornament to have on your Christmas tree for the holiday!
WHAT CAN I DO WITH OLD JENGA BLOCKS?
There are a lot of creative ways you can do with old Jenga blocks. Aside from making these Dollar Tree Jenga ornaments, here is a list of things you can do:
- HOME WALL DECORATION
Instead of sticking Christmas images on the blocks, you can print out other images that you like. For example, a flower, a small art image, or a quote maybe. Then you can hang these on your wall as decorations.
- WOODEN TRAY
If you have a box of incomplete Jenga pieces, don’t throw them away, you can still make a tray out of it. Just glue them together to make a rectangle shape. You can store accessories in it, chips, or snacks that are laying around the counter. You can even paint it if you want, it will look great either way.
- COASTERS
With just 3 Jenga pieces, you can make yourself a coaster you can use for your hot or cold drinks. Be creative and design it however you want.
TIPS FOR USING A HOT GLUE GUN
Hot glue guns are often thought of as a crafter’s best friend, but they can also be their greatest foe! You understand what I’m saying if you’ve ever had a blister or burn from a glue gun. Here are some tips when using a hot glue gun:
- USE THE APPROPRIATE TYPE OF GLUE GUN
There are 3 types of glue guns – low temp, high temp, and dual temp. Make sure you are using the correct one depending on the project you are doing. For this DIY craft, using a high temp glue gun is best since Jenga blocks are wooden.
- USE THE RIGHT GLUE STICK
Since there are different types of glue guns, you should also be using the right glue stick for that particular hot glue gun.
- ALLOW THE GLUE GUN TO HEAT UP
There are times that we use them even though it hasn’t fully heated up. For the best result, allow the glue gun to heat up for about 5 to 10 minutes before using it.
- PROTECT YOUR FINGERS
If you have been burnt a lot of times with a hot glue gun, it’s best to get yourself a silicone finger protector. This way, you wouldn’t have blisters on your hand anymore.
WHAT IF I CAN’T FIND THE CALENDARS?
If ever there aren’t calendars left in stock at the Dollar Tree store near you, stickers can also be an alternative for this ornament. As long as it will be a perfect fit on the Jenga ornament size. You can also mod podge on top of stickers for a great look.
OTHER IDEAS FOR DOLLAR TREE JENGA ORNAMENTS
These Dollar Tree Jenga ornaments can also be used for other things and not just for your Christmas tree. These are some ideas for you:
- GIFT TAGS
You can use these as gift tags. Plus, it is also an added present! They can hang it on their Christmas tree.
- ORNAMENT EXCHANGE
Exchange ornaments with family and friends with this. It will be more special since it was made by you!
- FOOD TAGS
You can hang these on a bag of loaf bread, a box of cake, or cupcakes to give to someone special.
THINGS NEEDED TO MAKE DOLLAR TREE JENGA ORNAMENTS
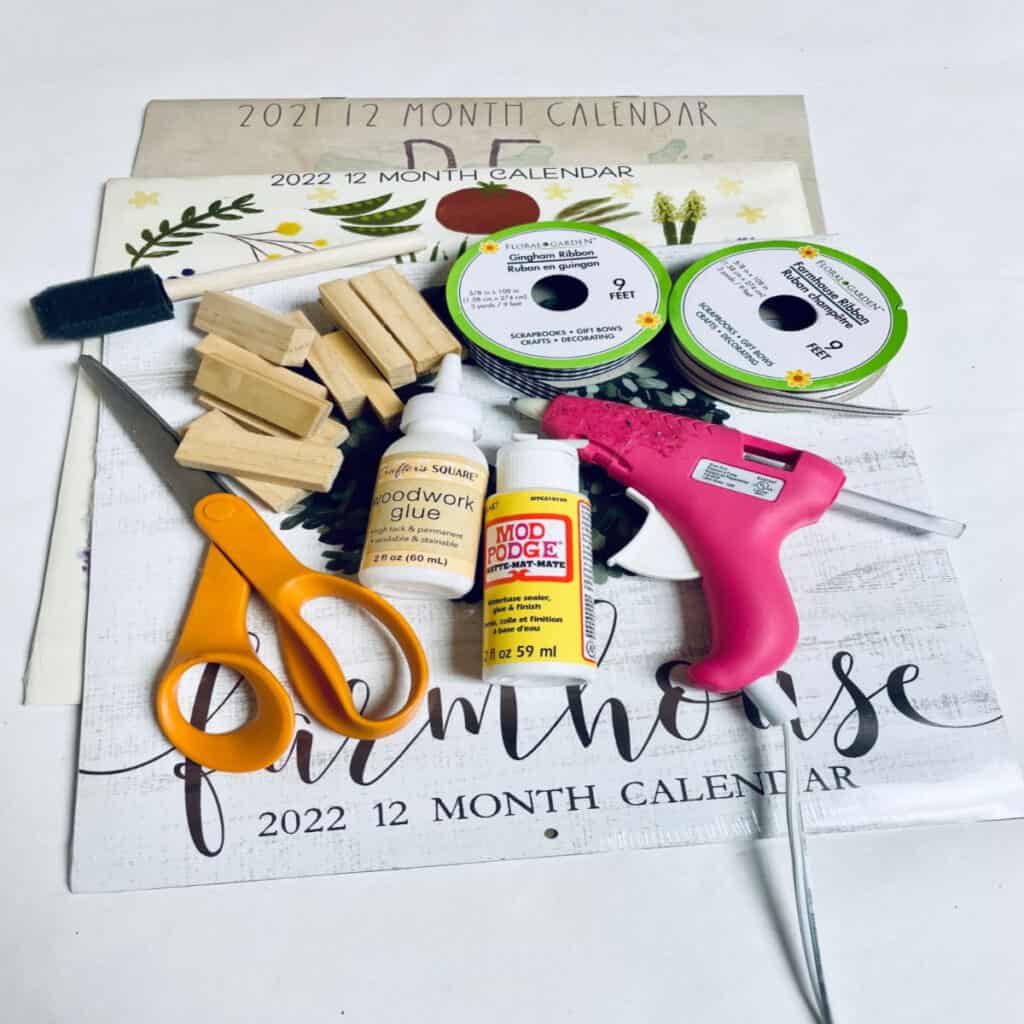
To make this fun DIY Dollar Tree Jenga ornaments, you are going to need some supplies. Here is the list needed for this craft:
- Scissors
- Dollar Tree Wood Glue
- Hot Glue Gun
- Paint Brush
- Jenga Pieces
- 2021 Dollar Tree Be Brave Calendar
- 2022 Dollar Tree Farmhouse Calendar
- 2022 Dollar Tree Market Calendar
- Dollar Tree Black and White Gingham Ribbon
- Dollar Tree Farmhouse Striped Ribbon
- Dollar Tree Mod Podge
HOW TO MAKE DOLLAR TREE JENGA ORNAMENTS
Once you have everything needed for this DIY craft, you can now start making these Dollar Tree Jenga ornaments! Follow the steps below for the best results!
STEP ONE: PREPARE THE CALENDAR PICTURES
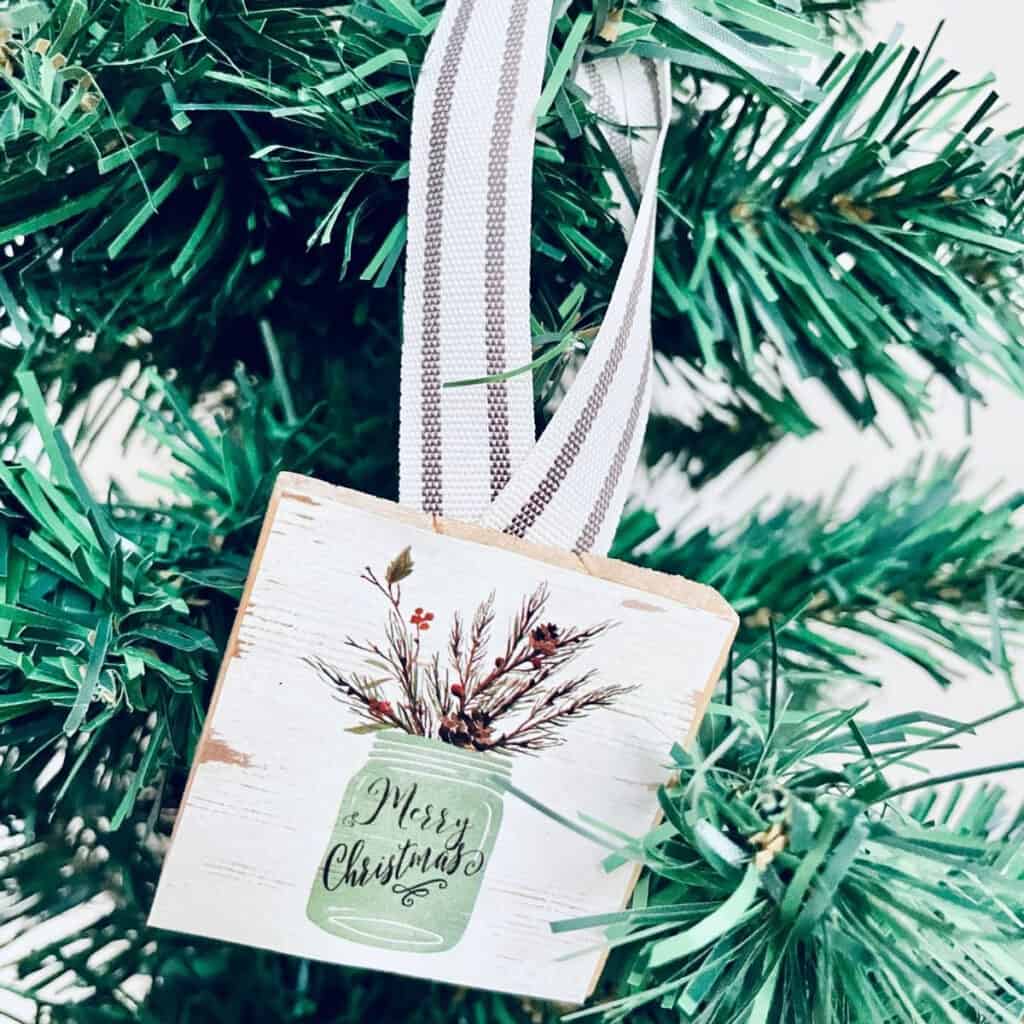
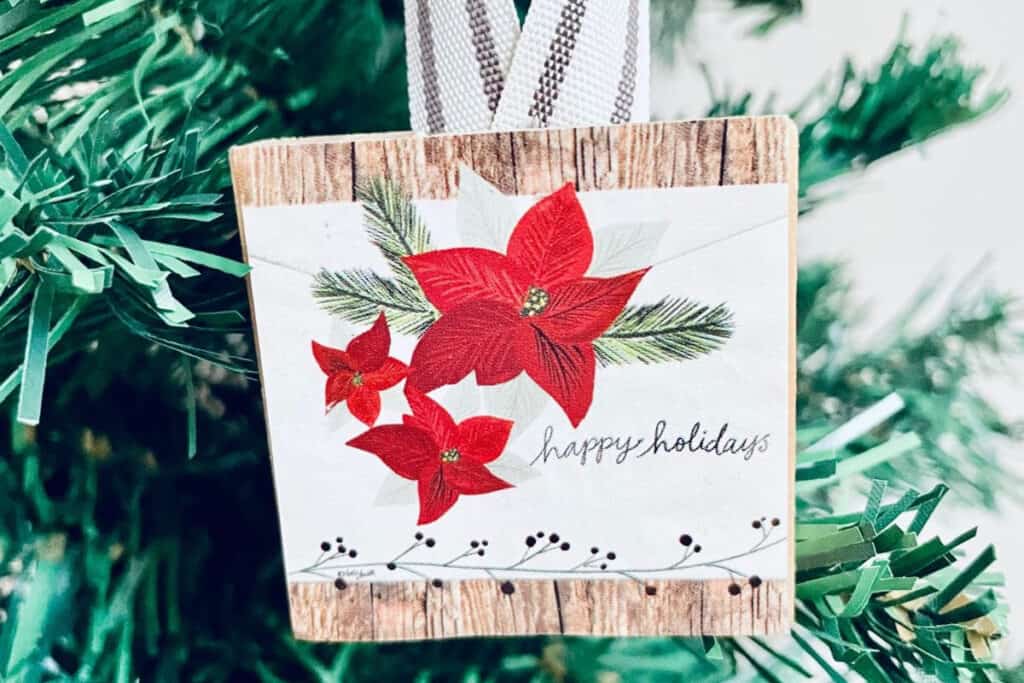
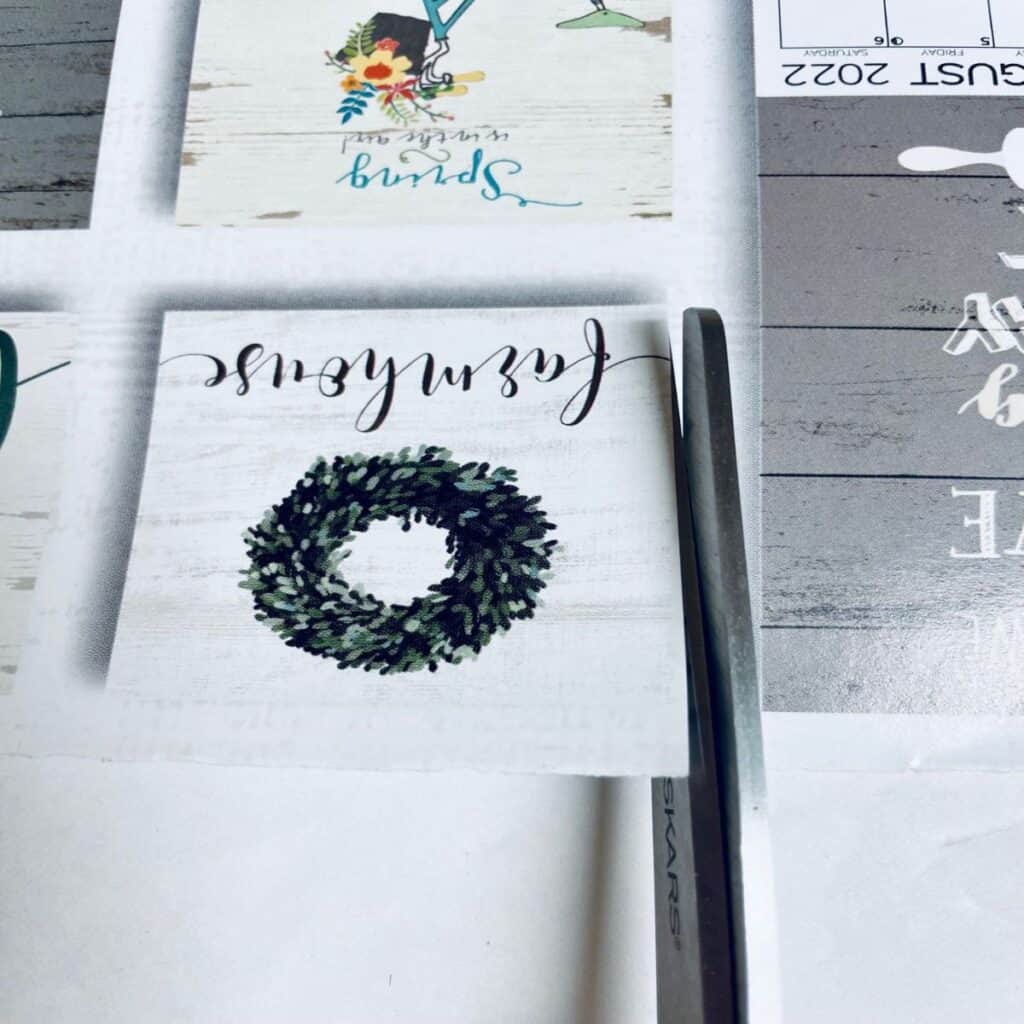
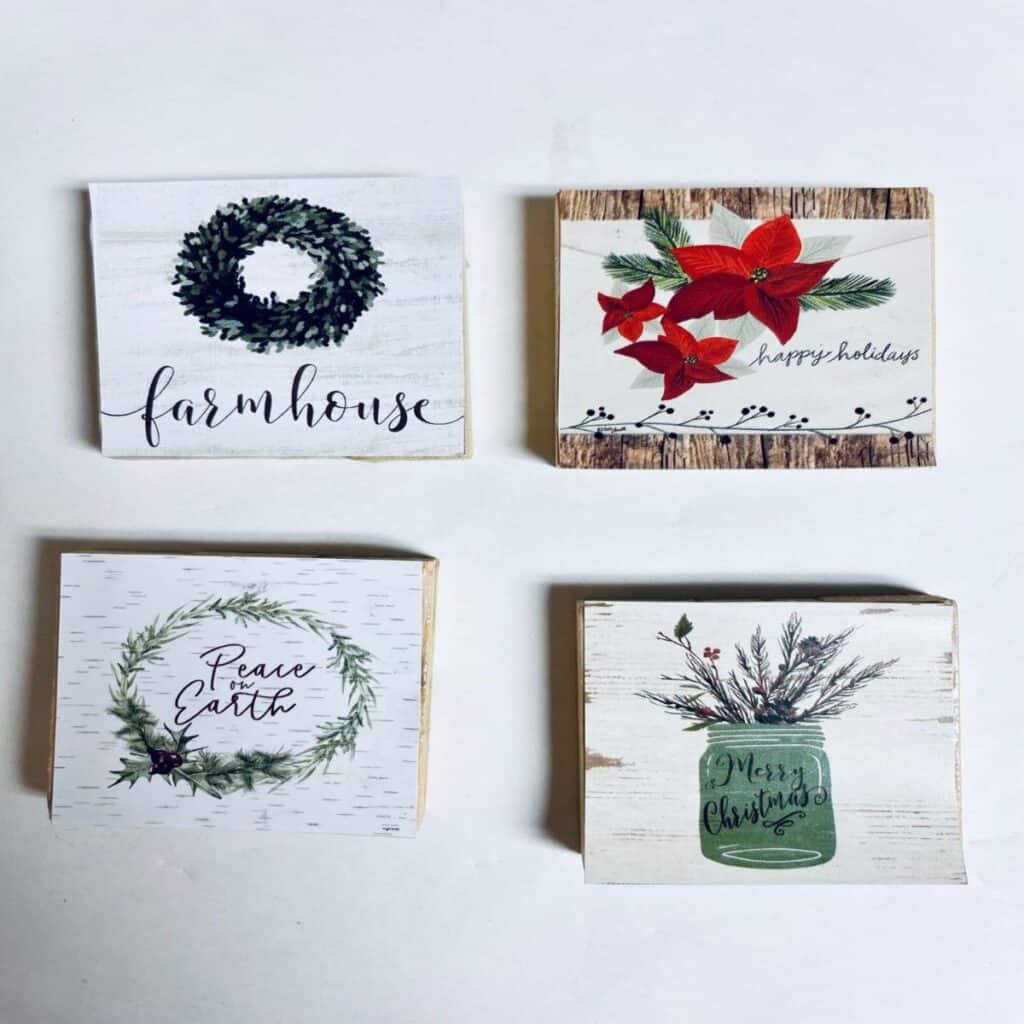
Grab the calendars you bought from the Dollar Tree and cut out your preferred images to use for your ornaments. For this, we made use of a farmhouse wreath from the be brave calendar. The other three pictures were from the back of the calendars and were the month of December.
STEP TWO: GLUE TOGETHER JENGA PIECES
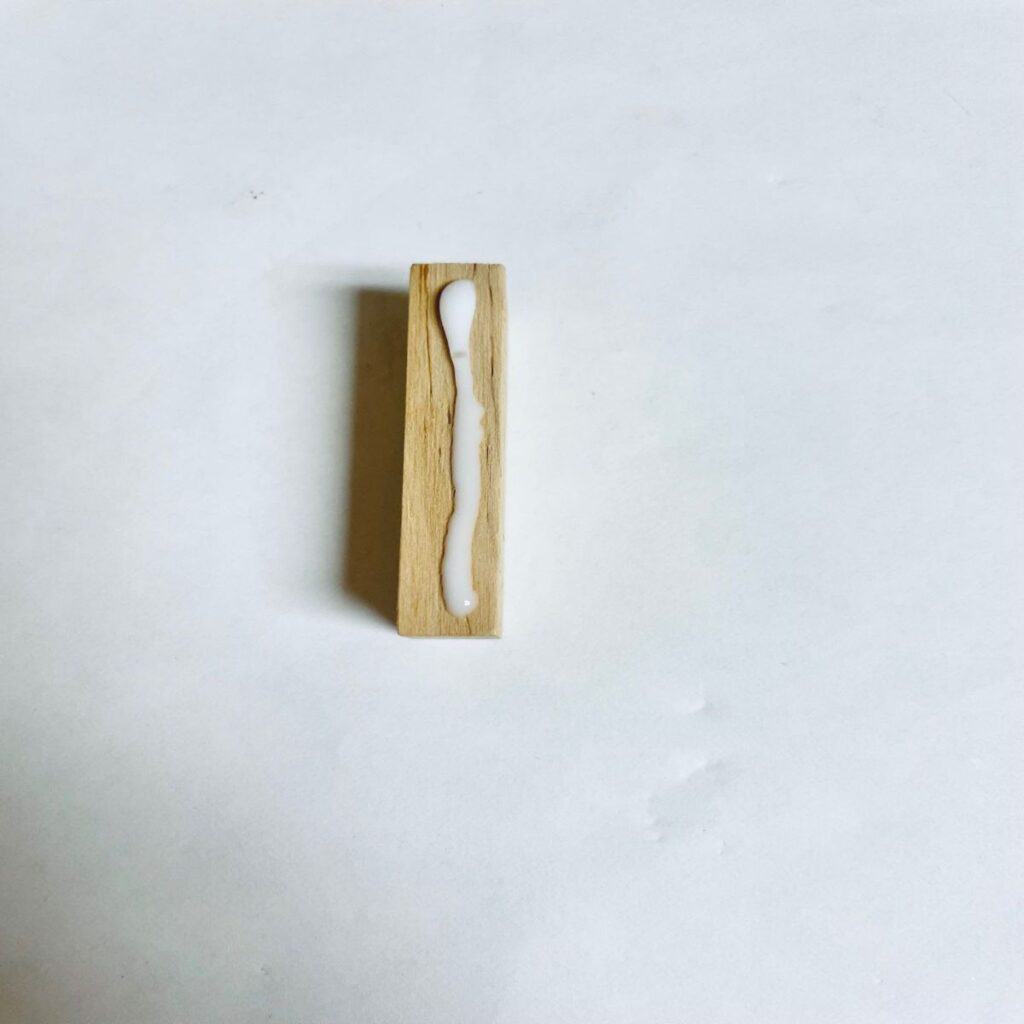
Get 3 pieces of Jenga blocks and apply wood glue on one of them.
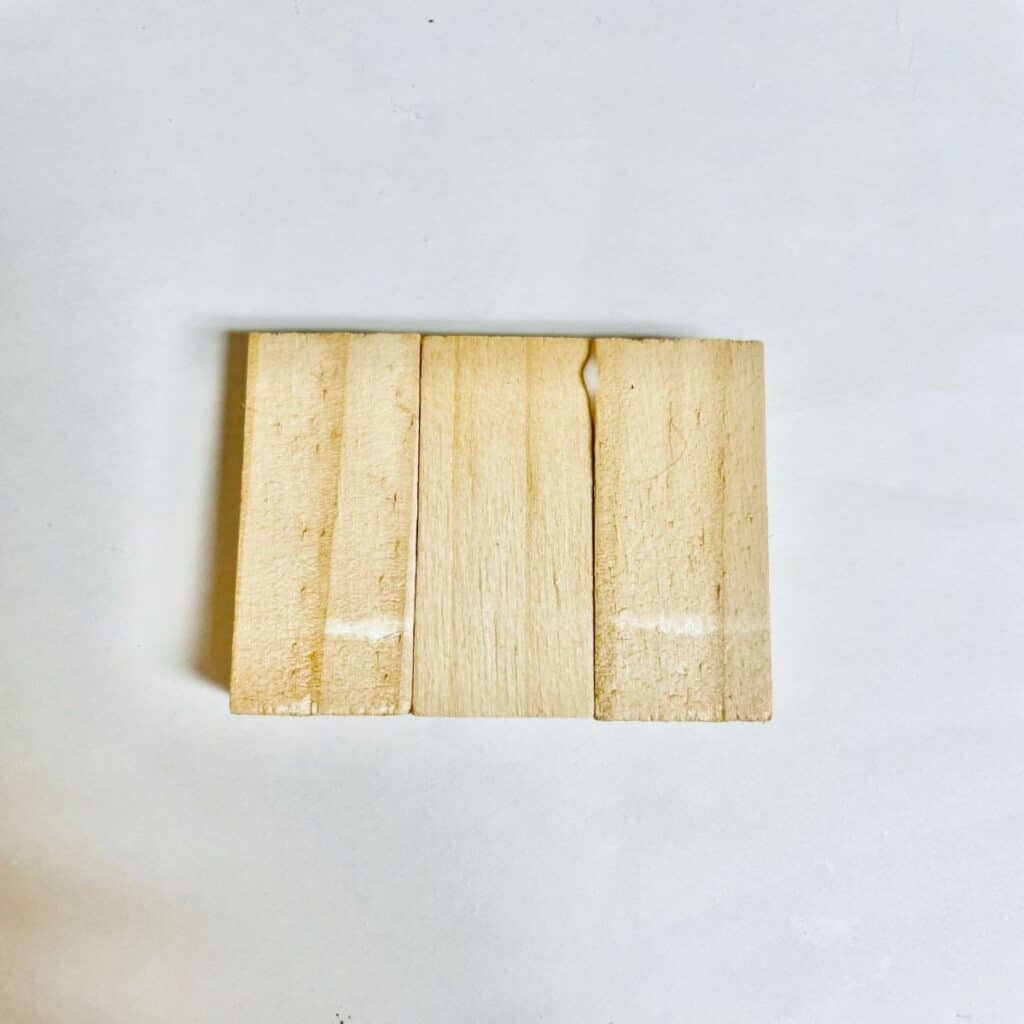
Place wood glue on both sides of the Jenga block then stick 2 pieces on each side of it.
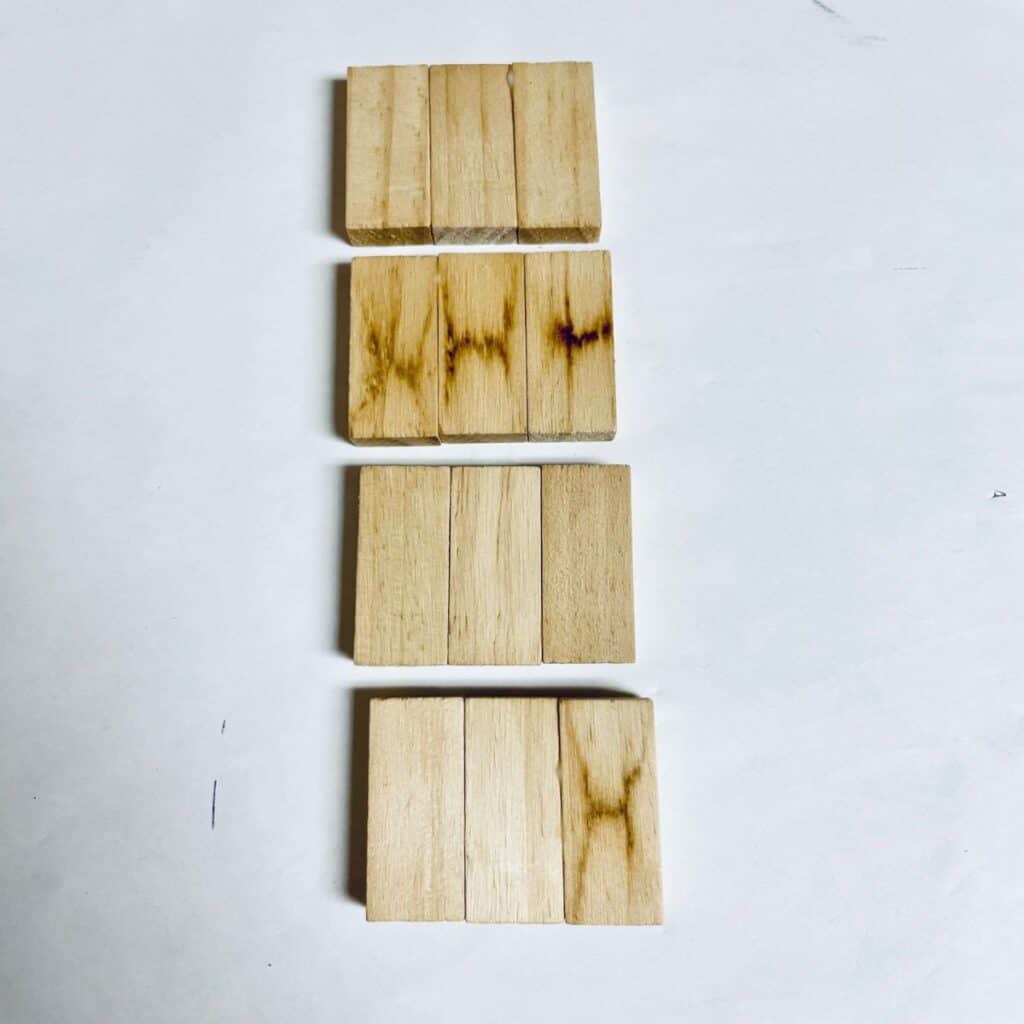
Allow the wood glue to dry then repeat this process 3 more times so you can have a total of 4 blocks containing three Jenga pieces each.
STEP THREE: APPLY MOD PODGE
Once the wood glues are completely dry and ready, apply mod podge on top of the Jenga blocks.
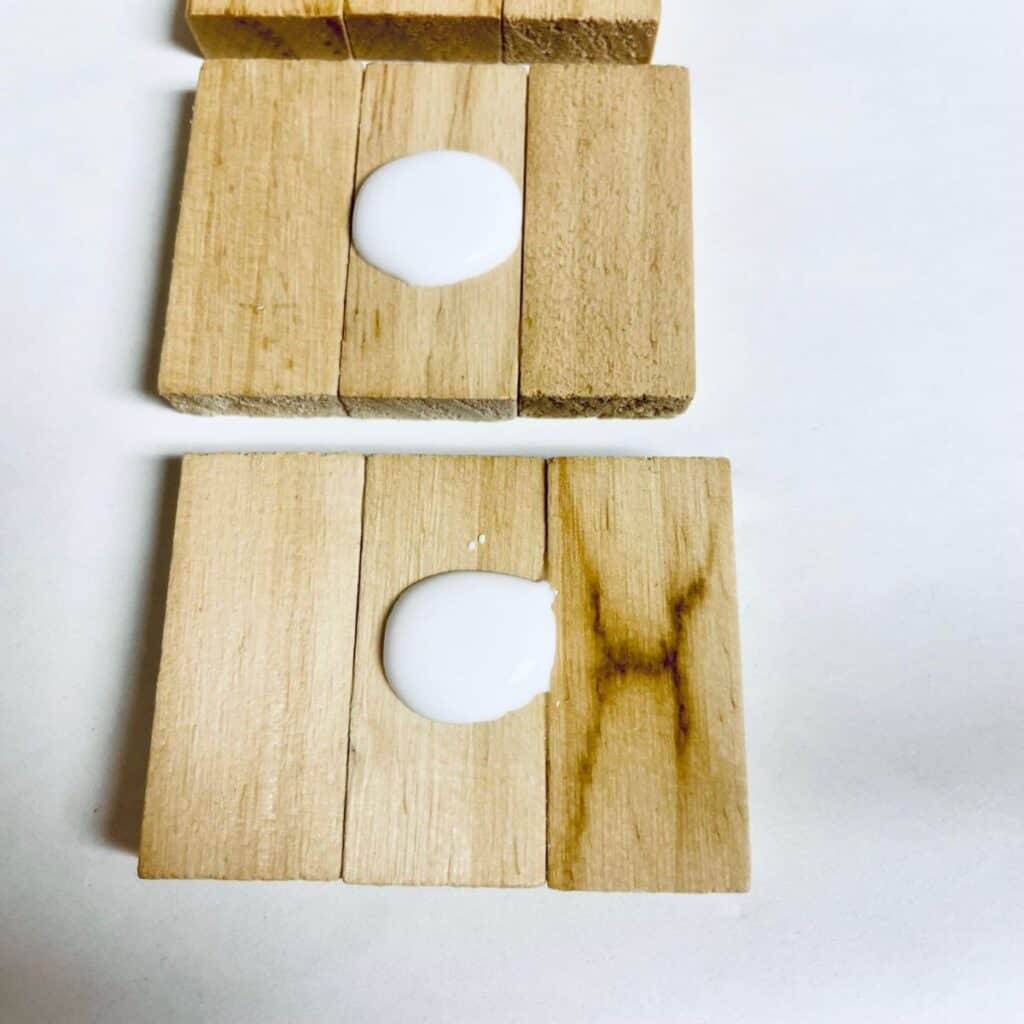
Grab your paintbrush and spread it evenly on top. Make sure to cover the whole surface with mod podge.
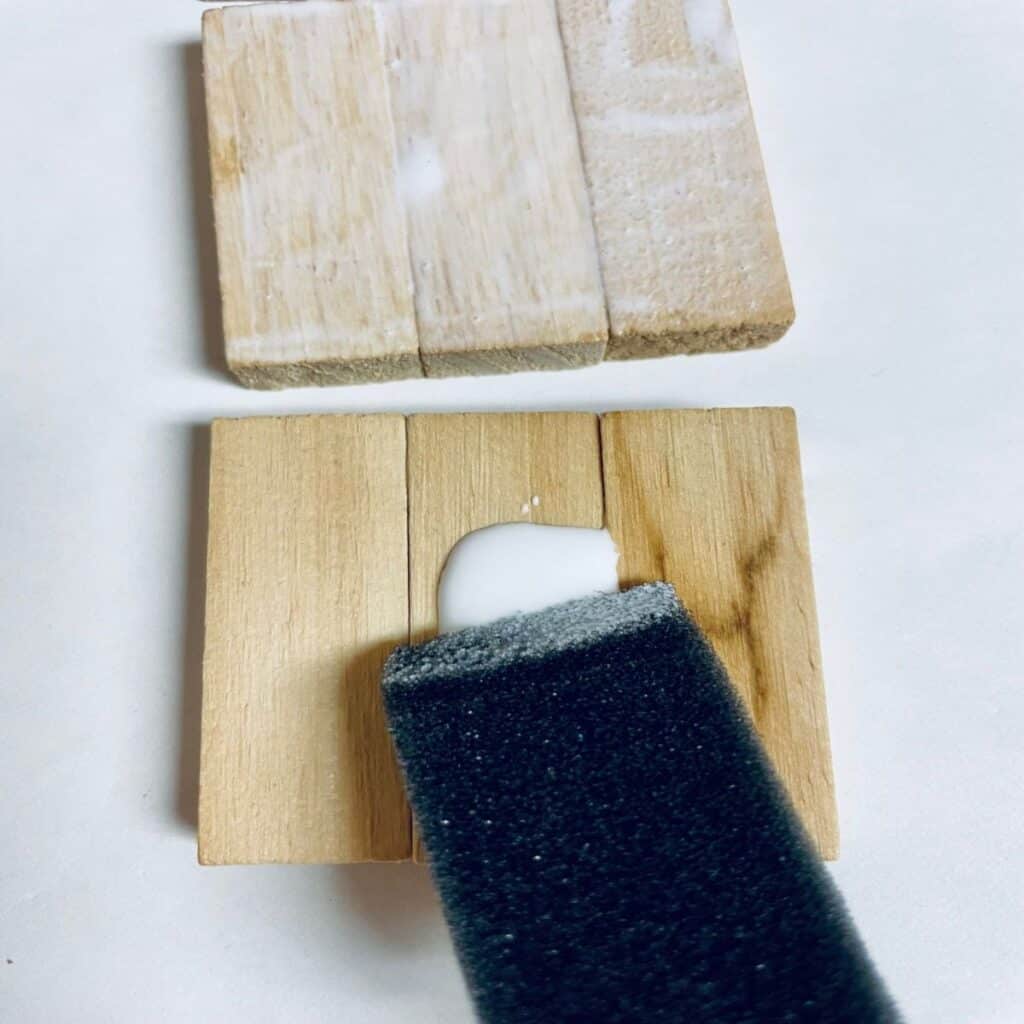
STEP FOUR: ADD THE CALENDAR PICTURES
Place the images you got from the calendars on the Jenga blocks. Be sure that they are perfectly fit on them. If there are overlapping sides, you can just trim them off. When you’ve placed all the images, allow these to dry again.
STEP FIVE: ADD RIBBONS
Lastly, for the finishing touches, get your ribbons and cut off six inches long sections from both designs.
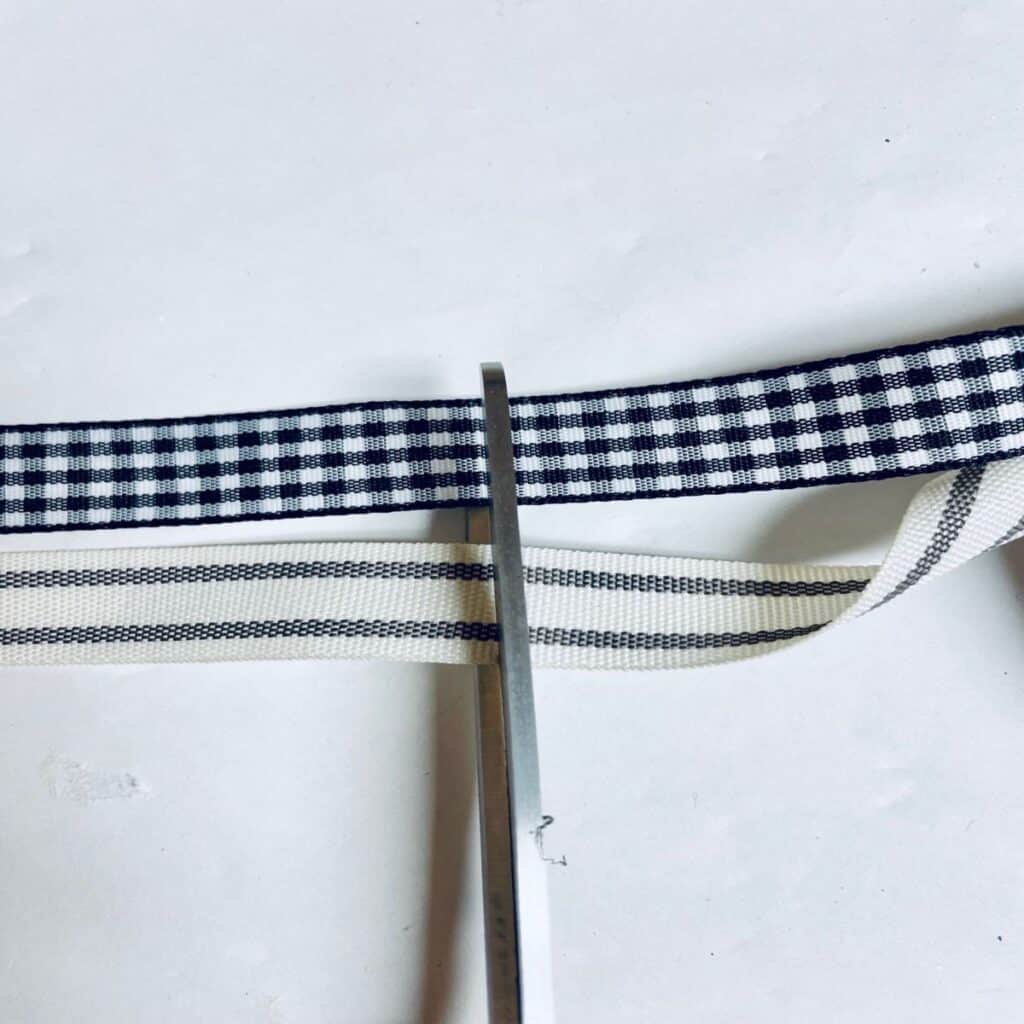
You should have 2 black and white gingham ribbons and 2 striped ribbons.
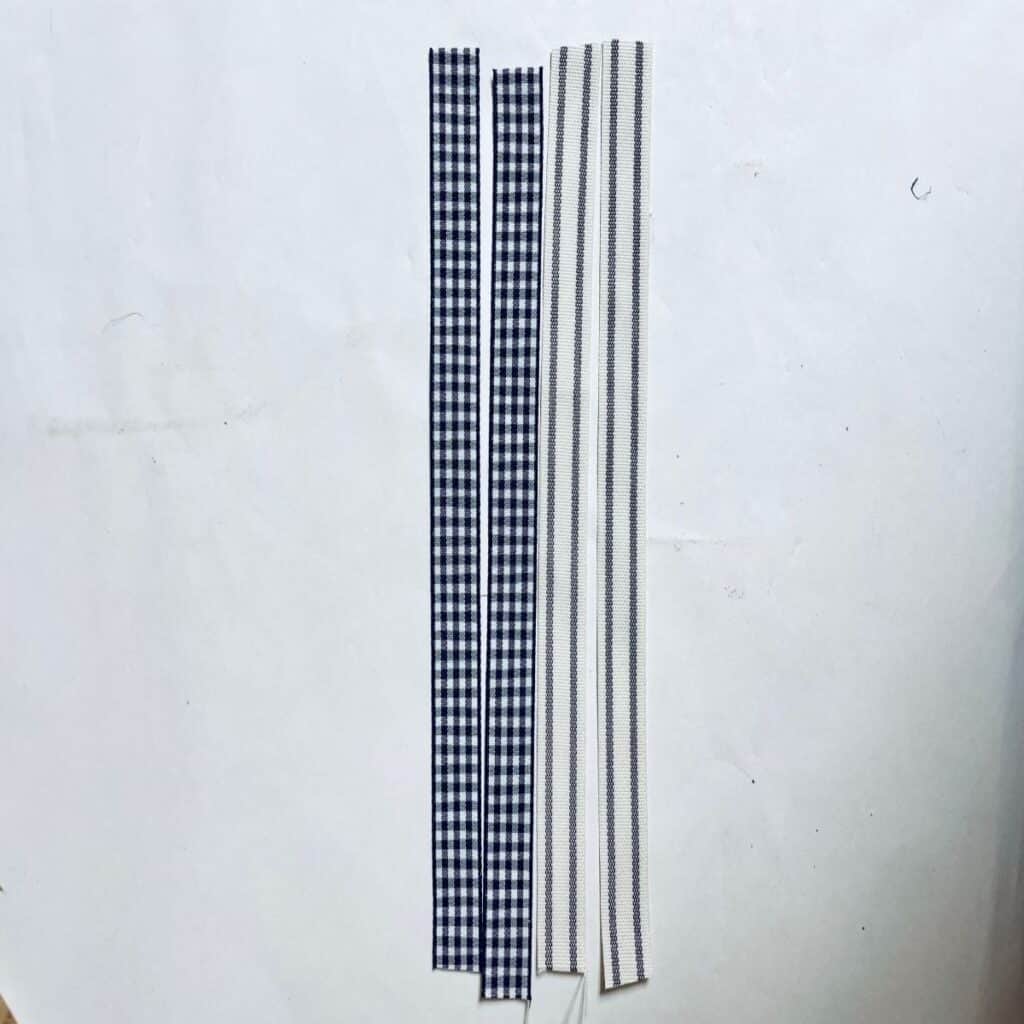
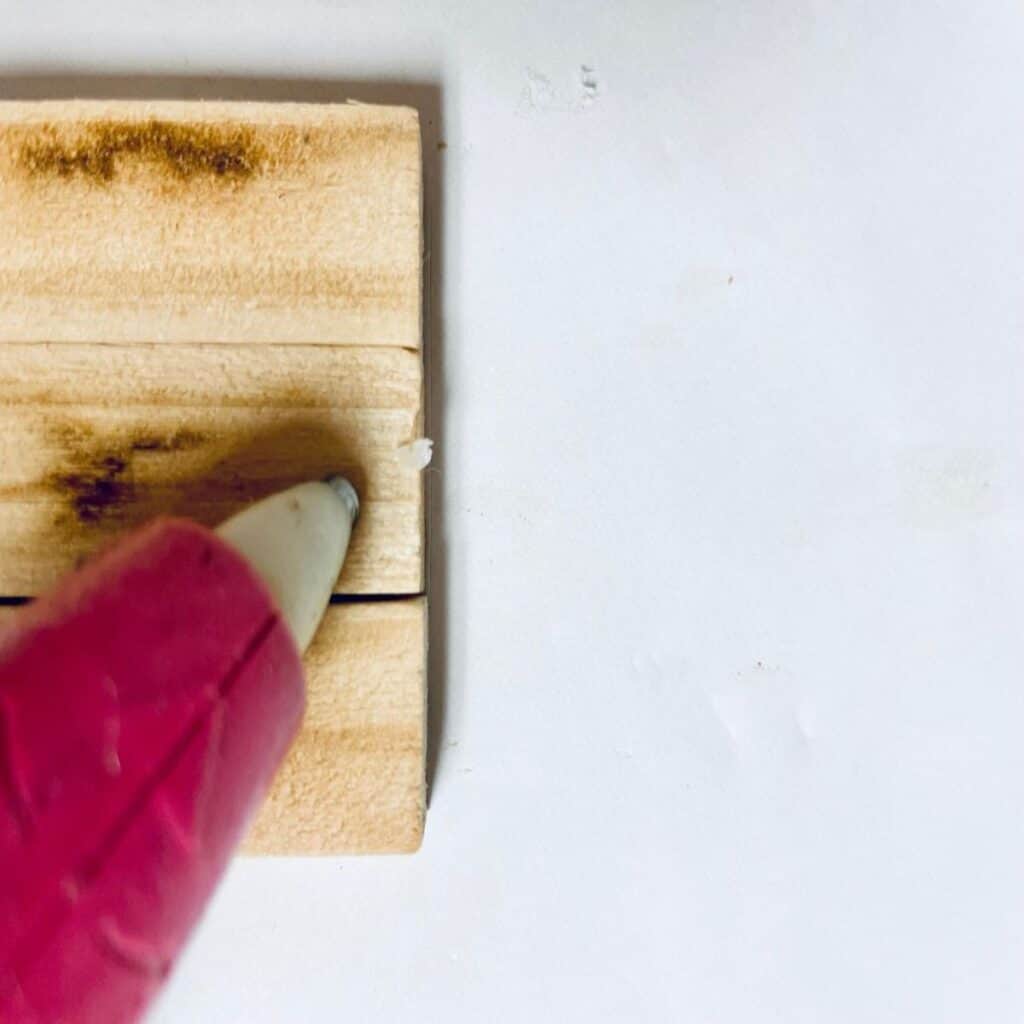
With the use of a hot glue gun, place glue on the back of the ornaments where you will put the ribbon.
After putting hot glue, stick one end of the ribbon to it. Then apply hot glue again on top of it.
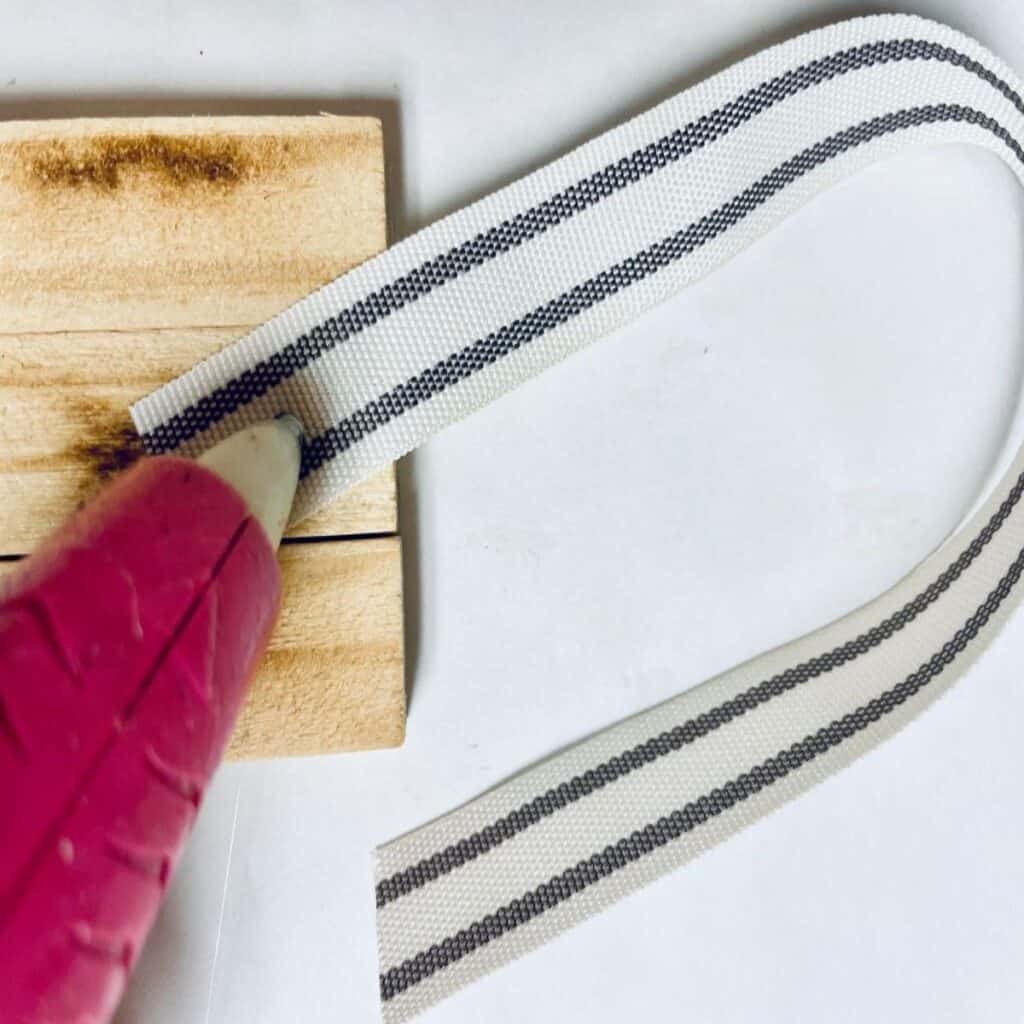
Stick the other end over the first one.
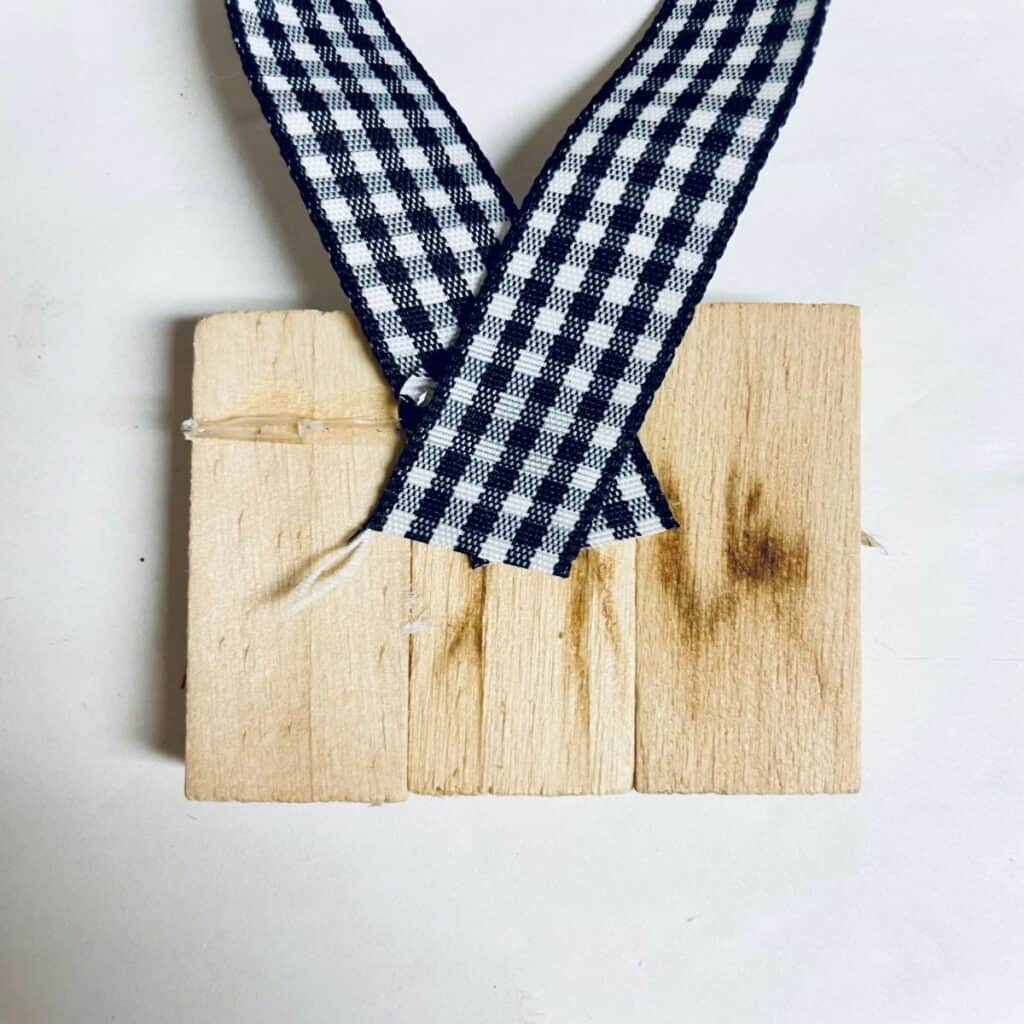
Finally, repeat the process until you finish all 4. Don’t forget to let the hot glue dry before hanging them on your Christmas tree.
DOLLAR TREE JENGA ORNAMENTS HOW-TO CARD
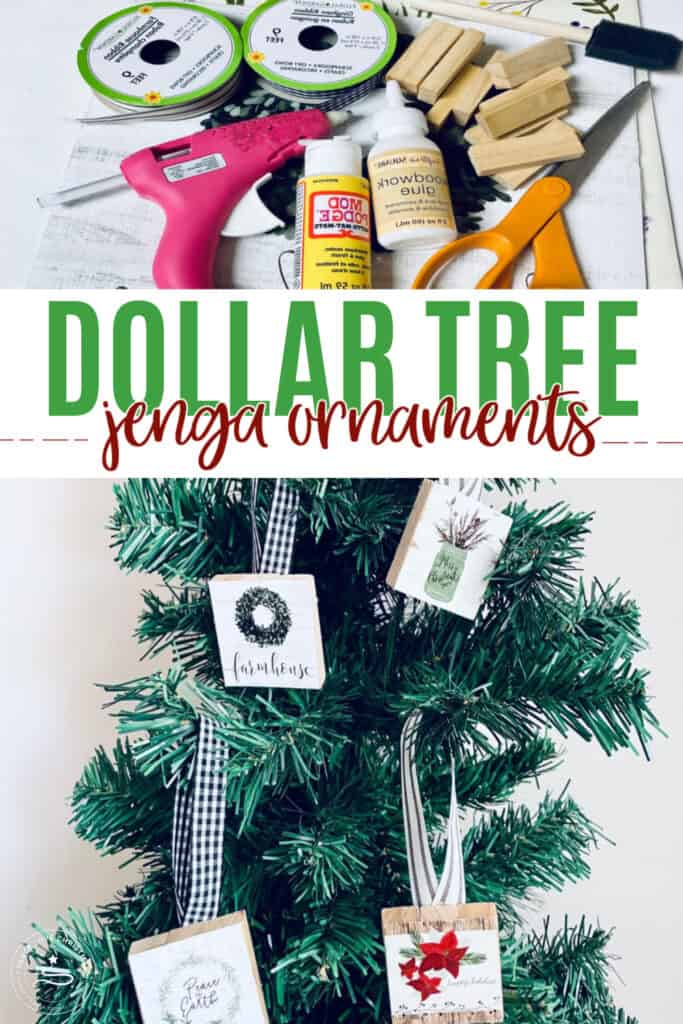
Now that you know all about Jenga ornaments it is time to print the instructions or save the instructions. You can print off the complete materials and instructions for the Dollar Tree Jenga ornaments via the how-to card below.
If you don’t have time to print it off right now, no worries! Just save the pin to your Pinterest account by clicking the pin button located in the how-to card below.
If you make this craft and LOVE it…please come back and leave a 5-star rating. It would mean so much to me!
Dollar Tree Jenga Ornaments
Equipment
- Scissors
- Hot Glue Gun
- Paintbrush
Materials
- Dollar Tree Wood Glue
- 12 Jenga Pieces
- Dollar Tree Be Brave Calendar 2021
- Dollar Tree Farmhouse Calendar 2022
- Dollar Tree Market Calendar 2022
- Dollar Tree Black and White Gingham Ribbon
- Dollar Tree Farmhouse Striped Ribbon
- Dollar Tree Mod Podge
Instructions
- Start by cutting out the backside of the calendar for the pictures that you would like
- Add wood glue to both sides of one of the Jenga pieces, and then add a Jenga piece on either side and let it completely dry. Do this 3 more times to create the 4 ornaments.
- Once completely dry, add some mod podge to the top and using a paintbrush evenly cover the top of the Jenga pieces. Next, place the calendar pieces on top and allow them to dry. I had to trim a couple of them to make sure there weren’t any of the calendar pieces hanging over.
- Cut 2 six-inch sections of the black and white gingham ribbon, and 2 six-inch sections of the striped ribbon.
- Using the hot glue gun, add them to the backside of the Jenga ornament.
If you liked this DIY ornament, be sure to check these other great DIY crafts out:
- Paper Mache Star Christmas Ornament
- How to Make a Dollar Tree Snowman Wreath
- Easy DIY Candy Sprinkle Ornaments
Be sure to PIN this for later and SHARE it on Facebook!


Leave a Reply