This year, make your family’s advent season special with this DIY Advent Calendar with Mason Jar Lids. Advent calendars typically come in a box with small numbered doors to open each day. Make this adorable craft version that is extra meaningful and fun.
What is an Advent Calendar?
Advent calendars consist of 24 doors or mini boxes that are to be opened every day in December, leading up to Christmas Day on December 25th. These doors or boxes contain a variety of items, which may include pictures of scenes from the Nativity story, pieces of chocolates and candies, toys, make-up, or other gifts.
Advent calendars countdown the days leading up to the day the birth of Jesus Christ is celebrated. The advent calendar is a long-standing tradition that dates back to the 1850s. (This is a not a new trend, although they have become more popular in recent years.)

Why Make Your Own Advent Calendar?
If you are a the type of person who can barely wait to give your loved one’s their gifts on Christmas morning, you will love making your own DIY advent calendar. Think of it as a way to give your family members a little gift every day in December.
Many retailers now stock advent calendars. Besides paper calendars, you can now get advent calendars for make-up, chocolate, coffee, tea, and even wine. Purchasing store-bought calendars are clever, but nothing beats a gift made at home with love and care.
Do Kids Like Advent Calendars?
My kids absolutely love using Advent calendars to count down the days to Christmas. Think of the excitement of waiting for the big day when Santa comes. Remember when you were a child. Waiting a whole month seemed like forever, didn’t it?
My kids are grown now, but I still get them an advent calendar each year. They might laugh a little, but I know they enjoy the holiday fun.
What Should I Use to Fill Each Hole?
Advent calendars can be used by both children and adults; it all depends on what you put inside those doors or boxes of surprises. So, if you decide to make your own Advent calendar this year, here are some ideas for items to include in your Advent calendar.
Here’s a quick list of items that kids enjoy and that you might want to include in your Advent calendar. some of these are a bit too large to put into the DIY Mason jar lid craft, but you can include a note explaining where they can find their gift item.
- Toys
Toys are, of course, at the top of any child’s list of most-desired items. Consider little dolls, action figures, and other small toys.
- Books
Put a note in the Advent calendar and give your child a book to unwrap. Holiday books or books for any subject that your children will enjoy will be a treasure all year long.
- Art Materials
Sharpies, crayons, colored pencils, small paint sets and paper are great gifts that are inexpensive and good for children’s creativity.
- Coloring Books and Stickers
Include coloring books with Bible stories or their favorite cartoon characters like Barbie, Spiderman, or Mickey Mouse. Stickers are a great addition as well.
- Snacks and Chocolates
Snacks and chocolates are always a hit for a small treat.

Advent calendars, as previously stated, are intended to be enjoyed by adults as well as children. If you are thinking about making an advent calendar for adults, consider the following items:
- Pamper Items
Consider including cologne or perfume, soap, lotion, make-up or body wash.
- Scented Candles
Scented candles have the ability to lighten the mood and improve the vibe of any home. What’s not to love?
- A favorite drink
Coffee, tea bags, or even small shots of wine are a fun treat for grown-ups. Gift cards to a local coffee shop are another fun surprise.
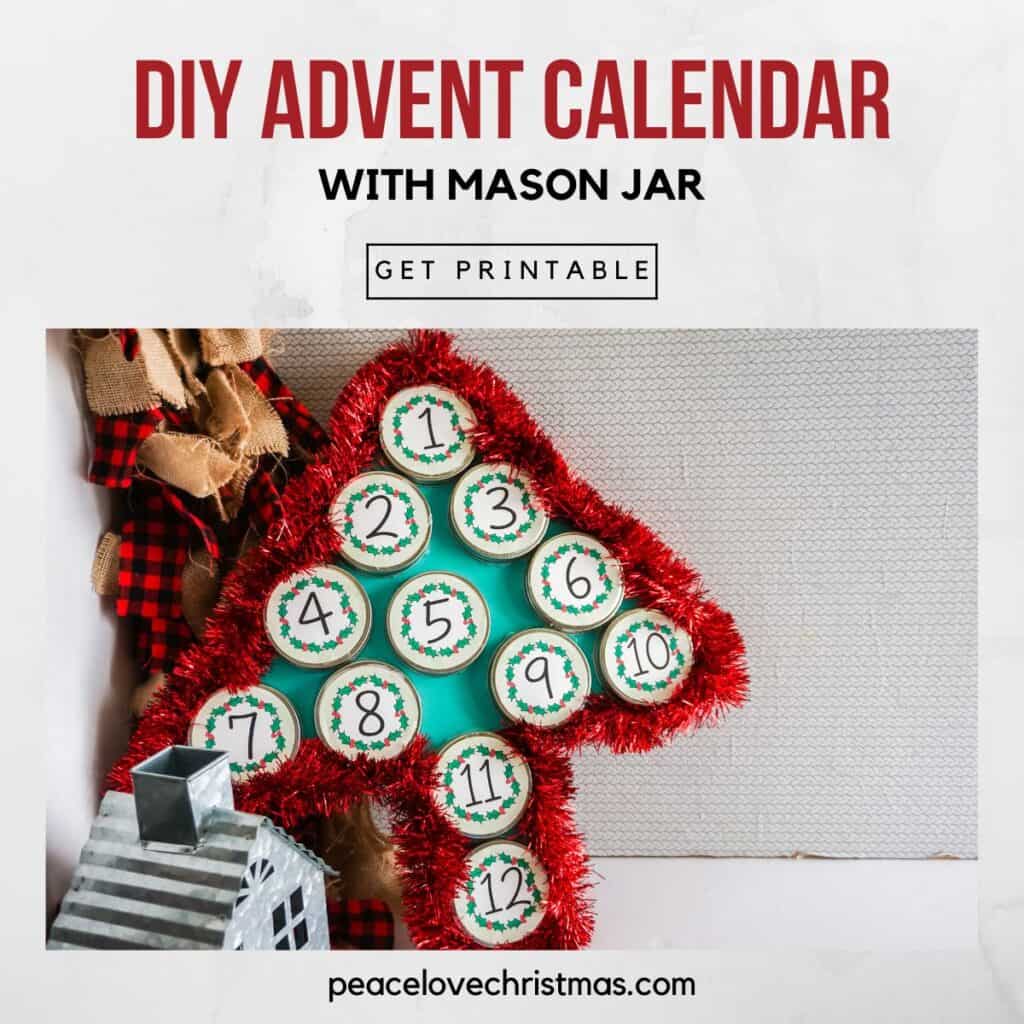
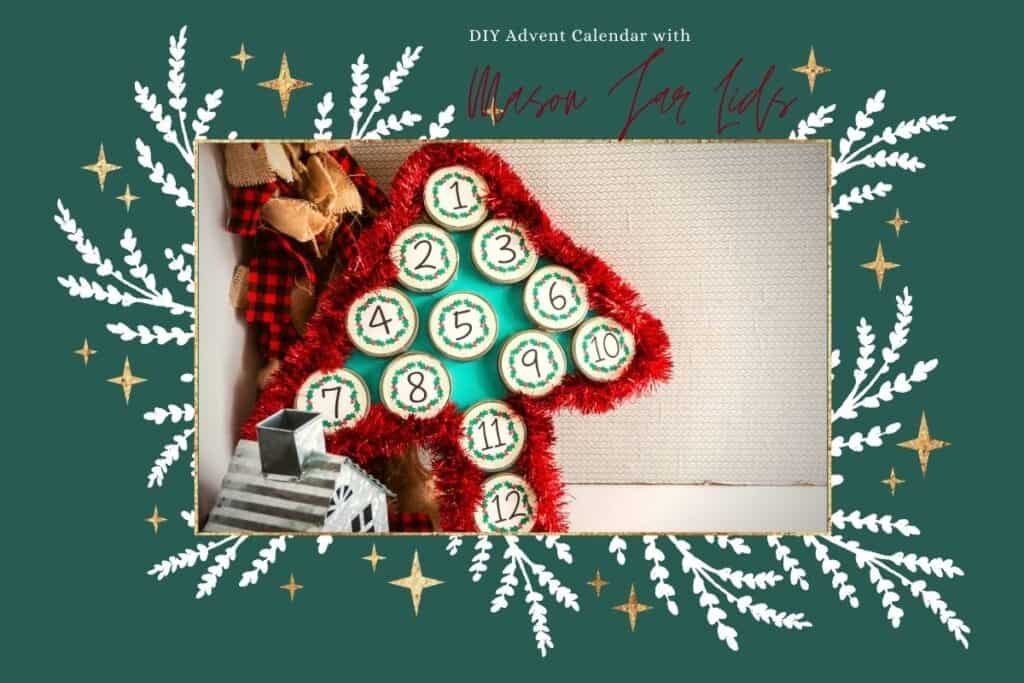
Steps for a DIY Advent Calendar with Mason Jar Lids
This DIY advent calendar is simple to create and can be completed in a matter of minutes. Mason jars make the best Advent Calendars because they come in a box of twelve and come in a variety of sizes.
Follow the steps below for the best results.
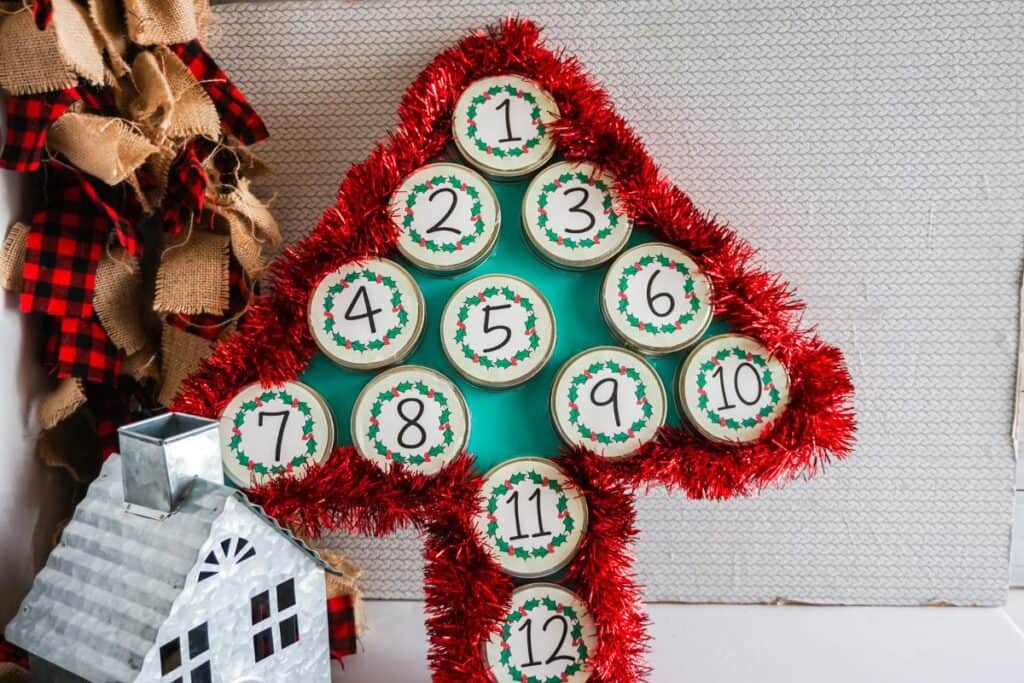
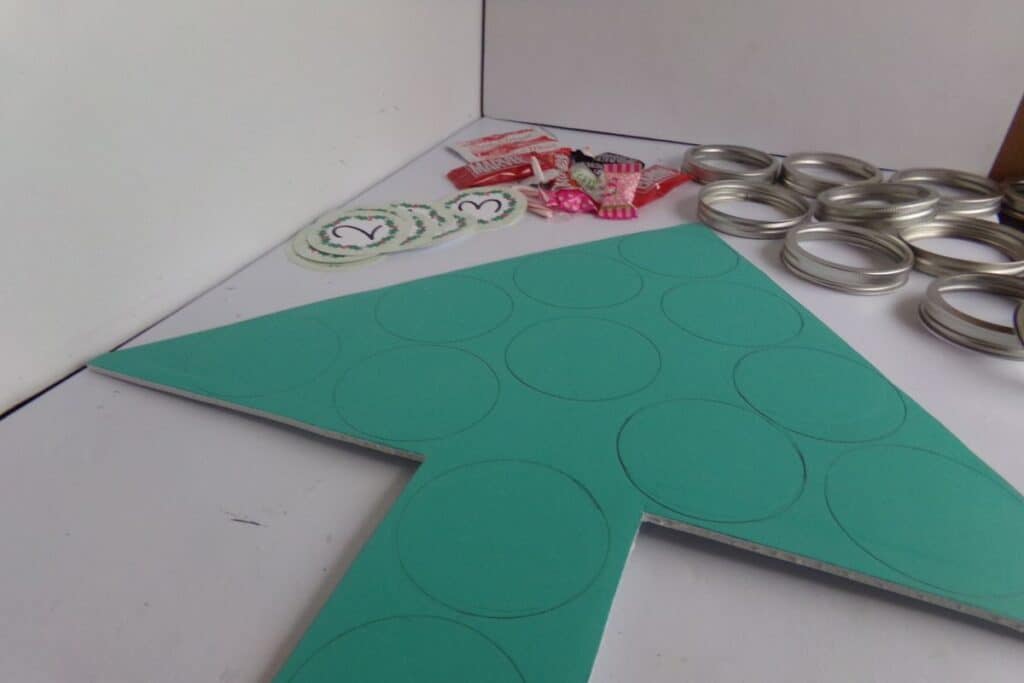
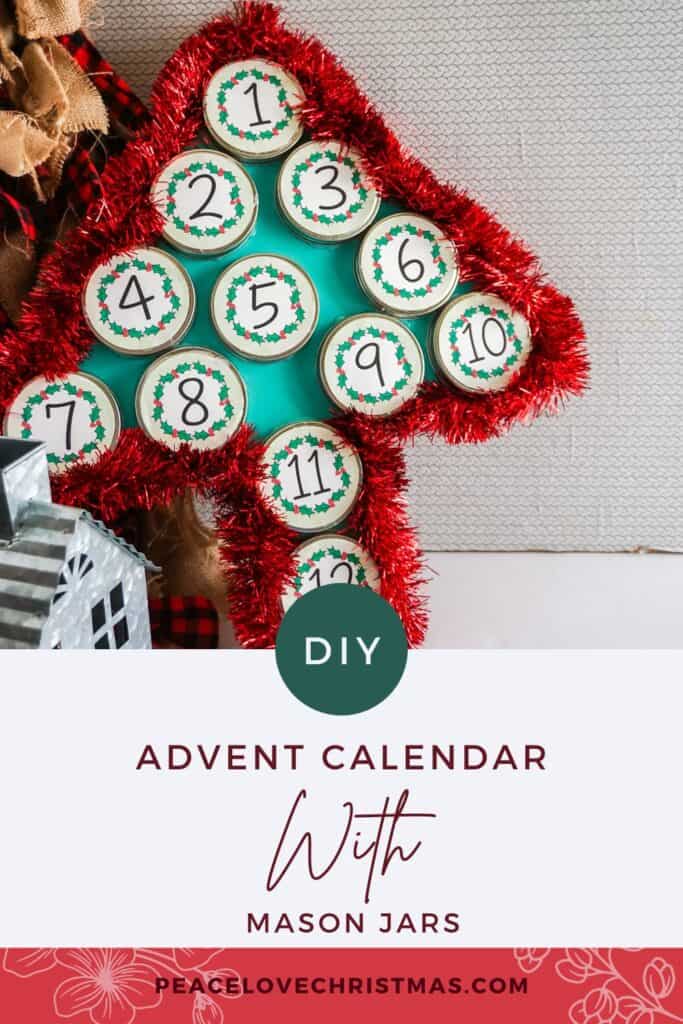
STEP 1: DRAW CHRISTMAS TREE SHAPE
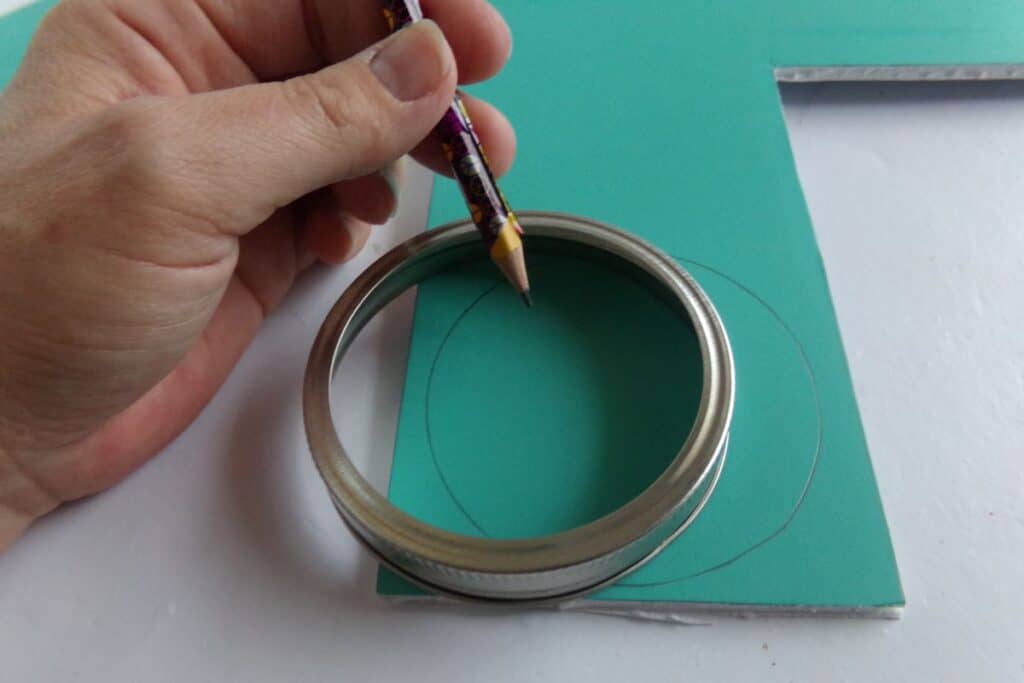
Draw a Christmas tree on cardboard to serve as the calendar’s base. All you need to do for this step is draw a triangle and a small square below it to serve as a stand. Check that all 24 mason jar lids fit inside the triangle.
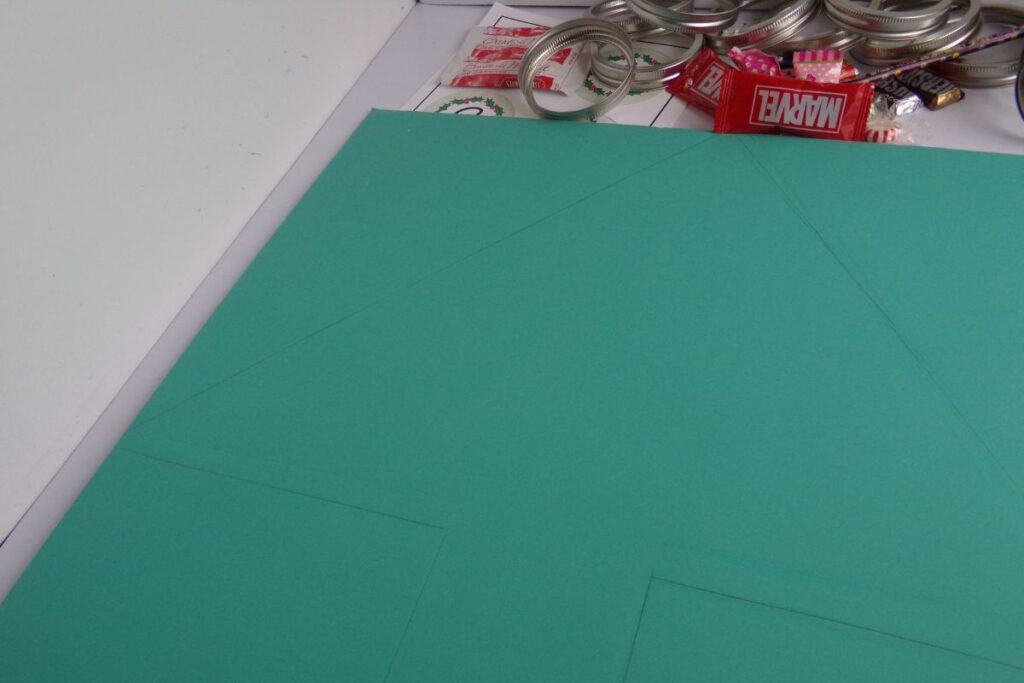
STEP 2: CUT OUT WHAT YOU DREW
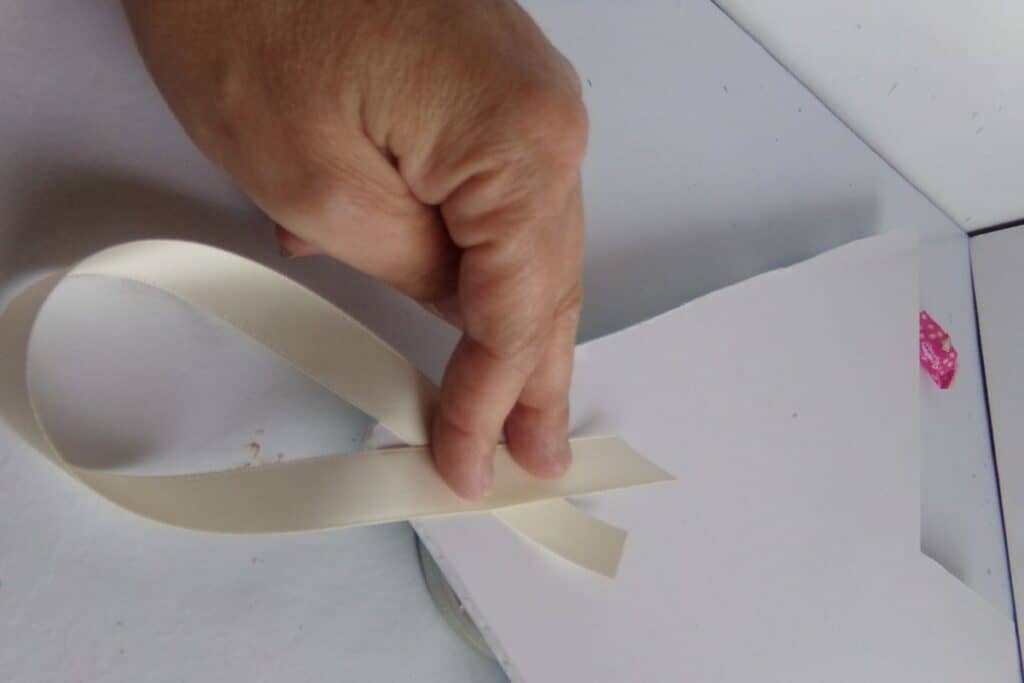
Once you’re certain that each side of your triangle is proportionate to the others and that all of the mason jar lids fit, CUT your base. You can use scissors, but a blade will produce sharper results.
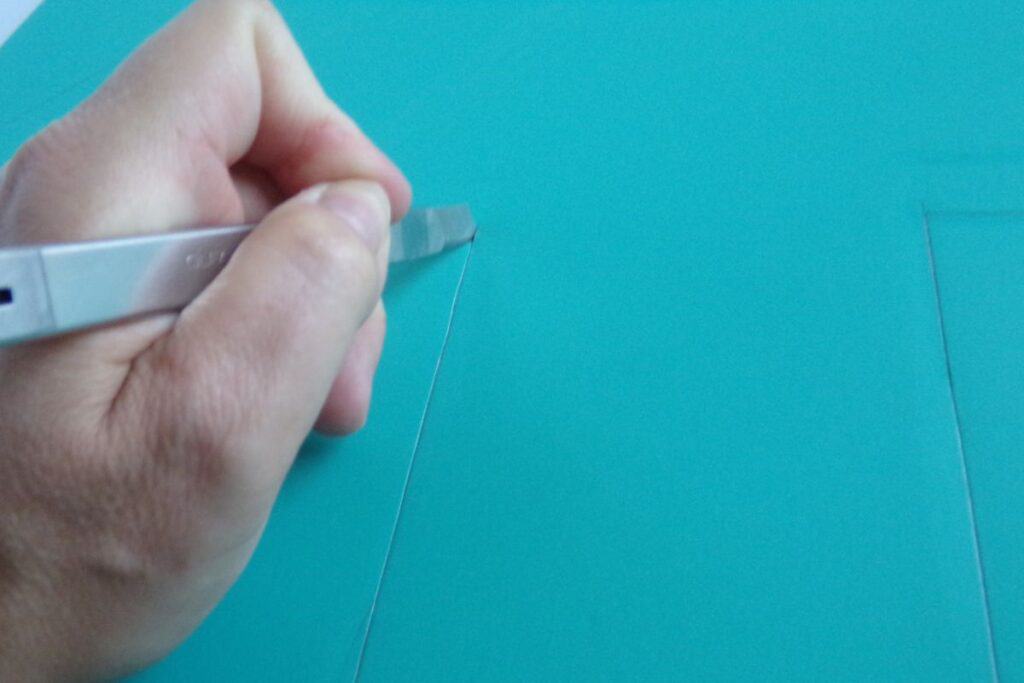
STEP 3: POLISH THE BASE
After carefully cutting your base, ensure that all edges are polished and no imperfect sides are visible to the naked eye.
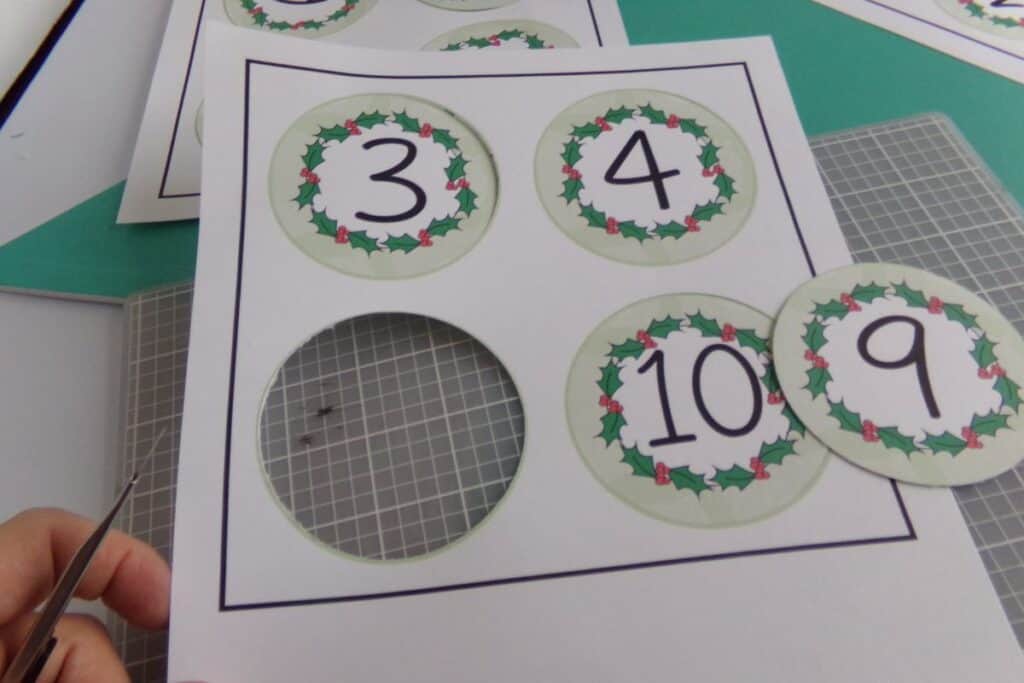
STEO 4: CUT THE LABELS
After you’ve finished cutting and polishing your base, cut out the printed labels. Make sure you cut as close to the circle as possible so there’s no extra white paper around the edges.
STEP 5: MARK
Now, start marking where each mason jar lid will be placed.
STEP 6: STICK IT ON
After you’ve plotted the position of each mason jar label, it’s time to individually adhere them. For the best results, I recommend using hot glue and a glue gun.
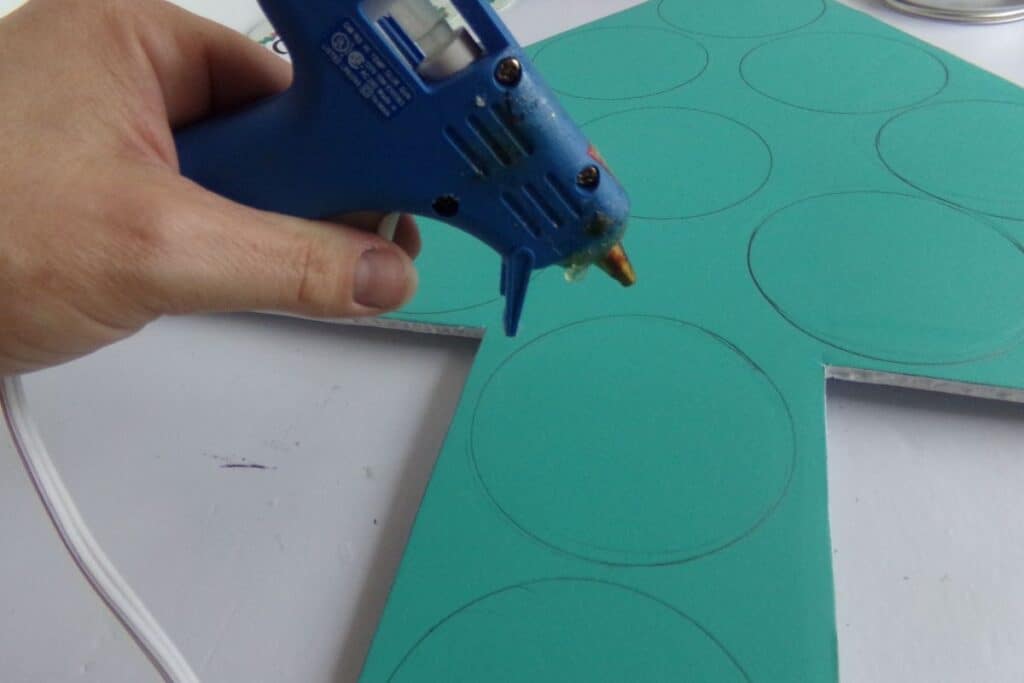
STEP 7: PRESS
Gently press the mason jar lids on your base to ensure a strong bond.
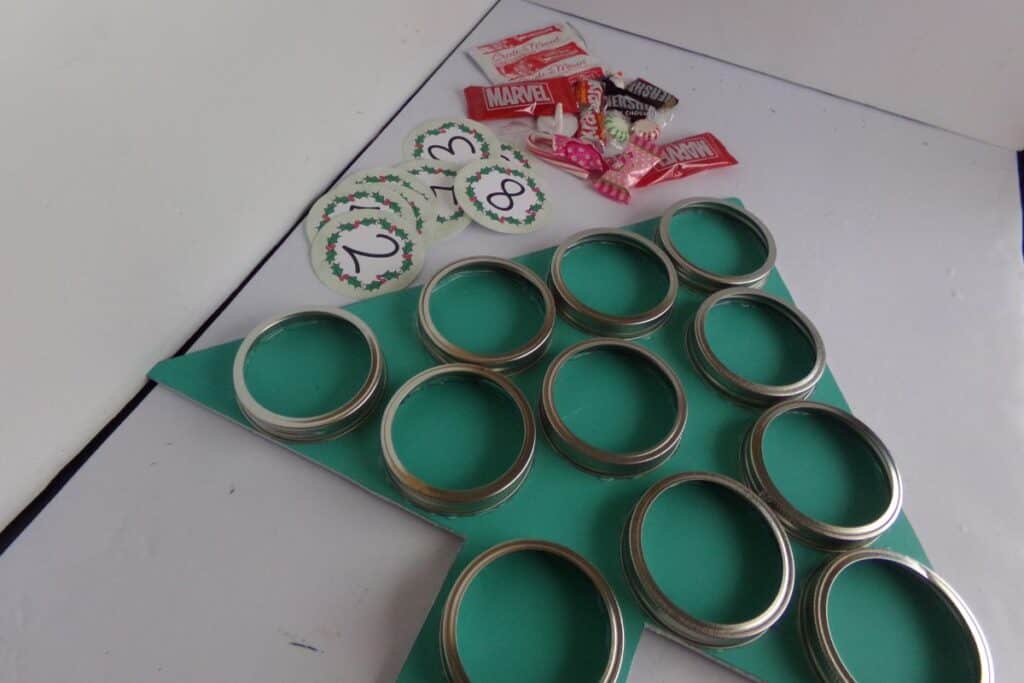
STEP 8: PUT IN THE GIFTS
Wait for the hot glue to dry. Once it has, place the gifts on that you have prepared. You can simply place it in the individual mason jar lids, or you can individually wrap it for an added surprise.
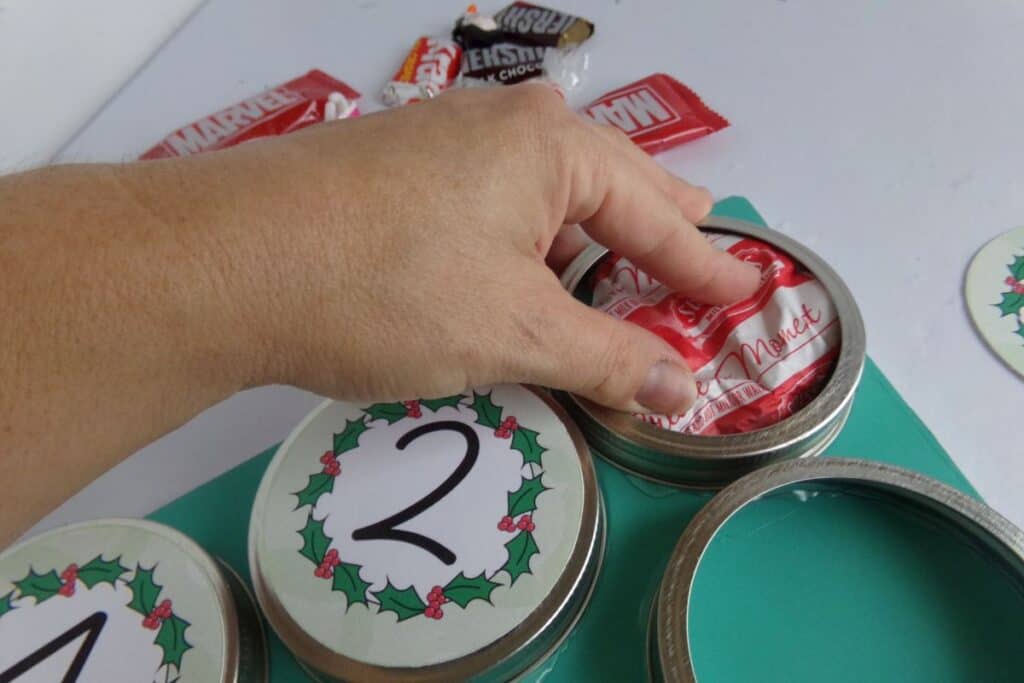
STEP 9: LABEL
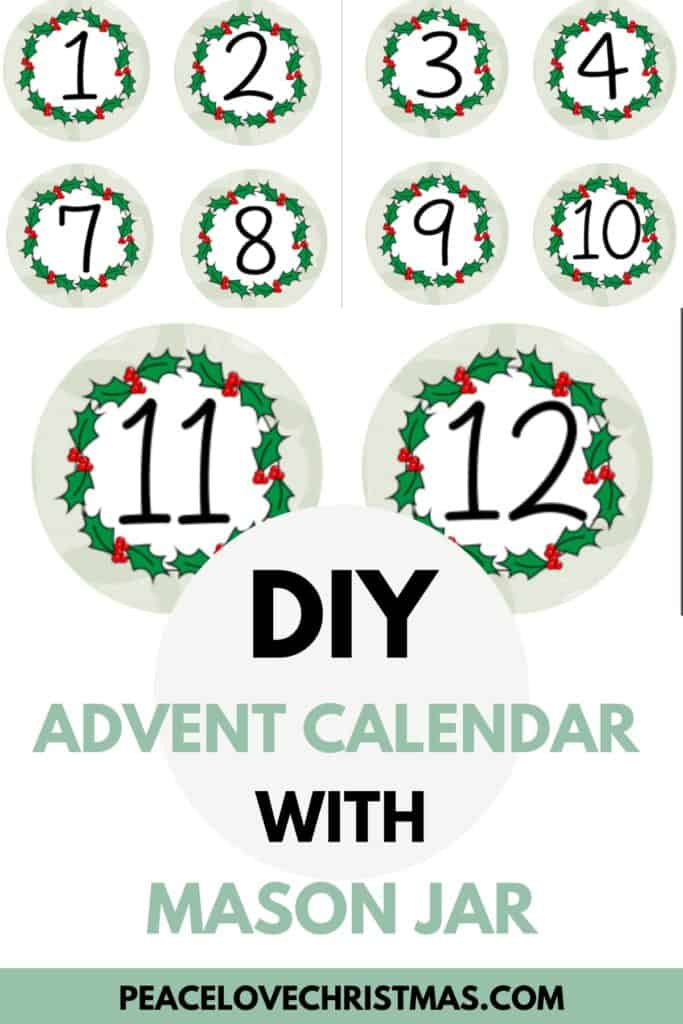
After you’ve putting in the gifts, its time to cover it up. Print this free printable to use as a guide and to number the jar lids.
STEP 10: PREPARE TO HANG
You may now want to flip your base to see if the gifts or the mason jar lids themselves will fall. If it did not, attach a ribbon to the peak of the triangle. This will be used to hang your advent calendar.
STEP 11: DECORATE
Now that everything is in place, it’s time to let your creative juices flow. Decorate your advent calendar however you want, but I wanted to keep it simple so I just added some red garlands to the sides.

DIY Advent Calendar with Mason Jar Lids How-To Card
Here is a step-by-step guide to making your new Christmas countdown calendar, along with printable instructions.

DIY Advent Calendar with Mason Jar Lids
Equipment
- Scissors
- Tape
Materials
- Mason Jars
- Craft Paper or Any Wrapping Paper
- Printed Numbers
- Gifts
Instructions
- Begin by gathering the necessary supplies, such as mason jars, craft or wrapping paper, and printed or sticker numbers.
- Wrap the outside of the mason jars in your preferred craft or wrapping paper to keep the gift inside hidden until the jar is opened.
- Label the jar lids with your printed or sticker numbers.
- Place the prepared gifts inside their respective jars.
MORE CHRISTMAS ACTIVITIES
Try the following Christmas activities for even more fun.
- 100+ Christmas Traditions to Consider Starting
- Simple Christmas Activities for Preschoolers
- Advent Readings for Candle Lighting at Christmas
Be sure to PIN this for later and SHARE it on Facebook!


Leave a Reply